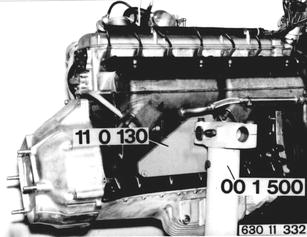
REMOVING AND INSTALLING CRANKSHAFT Remove engine 11 00 050. Detach exhaust gas filter and support of left engine mount. Mount crankcase in Special Tool 00 1 500 with Special Tool 11 0 130.  11 00 050 11 00 050
|  |
 |
|
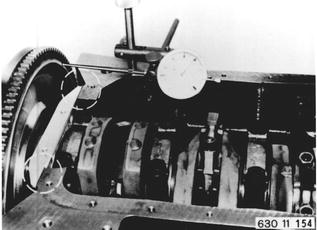
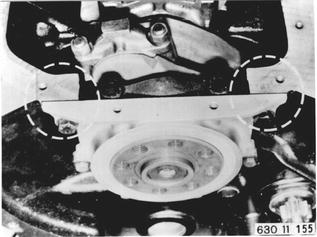
Remove flywheel 11 22 000. Remove end cover. Installation: Coat end cover/oil pan joint area with Atmosit or Curil K 2.  11 22 000 11 22 000
|  |
Remove conrod bearing caps in BDC position. Installation: Conrods and bearing caps are marked for pertinent cylinders. Conrod no. 1 is at sprocket end. Cylinder reference figures or machining figures must always be on same side. | 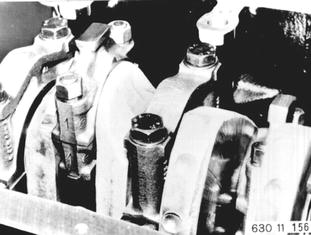 |
Remove crankshaft bearing caps. Remove crankshaft. Installation: Don´t mix up bearing caps. Conrod 1 is at sprocket end. Mount oil pump bracket with bearing cap 4. | 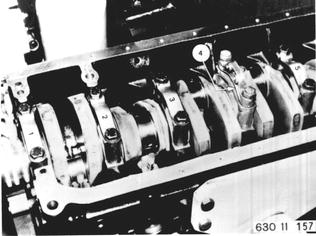 |
Installation: Install crankshaft bearing caps that groove is next to groove. | 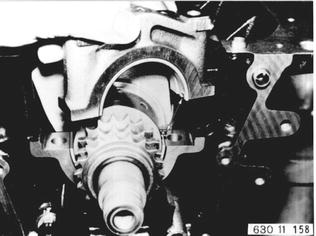 |
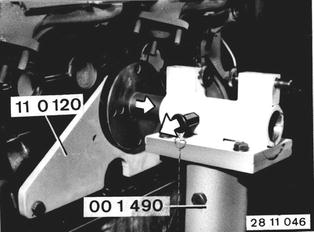
Vehicles after change point in 1982 REMOVING AND INSTALLING CRANKSHAFT Remove engine 11 00 050. Unscrew right engine mount console. Mount crankcase on Special Tool 00 1 490 with help of Special Tool 11 0 120.  11 00 050 11 00 050
|  |
 |
|
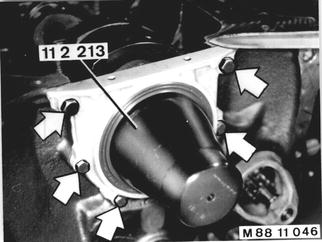
Remove flywheel 11 22 000. Unscrew end cover. Installation: Use Special Tool 11 2 213 to avoid damaging the radial oil seal. Cut off gasket on oil pan sealing surface.  11 22 000 11 22 000
|  |
Mark position of conrod bearing caps to connecting rods and unscrew. Installation: Replace conrod bearings and measure conrod bearing play - see 11 24 571.  11 24 571 11 24 571
| 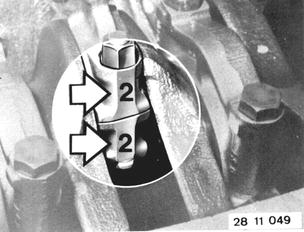 |
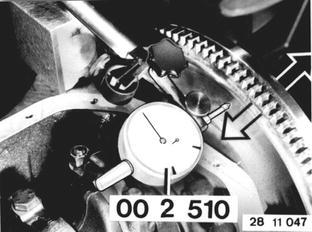
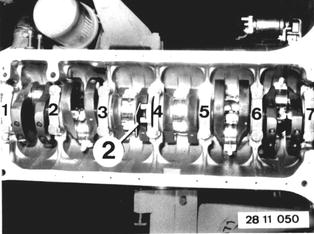
Remove crankshaft bearing caps and lift out crankshaft. Installation: Bearing cap no. 1 is on sprocket end. Also mount oil pump console (2) with thrust bearing cap (4). Install bearing shells and check bearing play - see 11 21 531. Installation: Measure axial play with crankshaft installed - unscrew thrust bearing cap no. 4 again. Center thrust bearing by applying knocks from a plastic hammer on the rear and front ends of the crankshaft. Tighten thrust bearing cap to specifications. Measure axial play*. If crankcase is replaced, clean oil and water bores thoroughly to remove casting sand.  * See Specifications * See Specifications 11 21 531 11 21 531
|  |