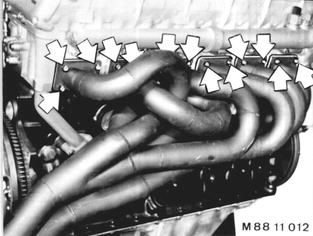
Vehicles after change point in 1982 REMOVING AND INSTALLING CRANKSHAFT Remove engine - see 11 00 050. First unscrew the rear and then the front exhaust manifold. Installation: Replace gaskets. Tightening torque*.  * See Specifications * See Specifications 11 00 050 11 00 050
|  |
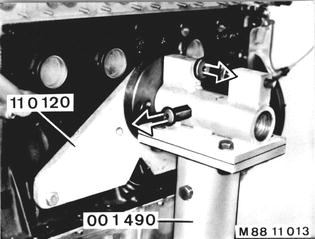
Unscrew right engine bracket and mount engine on Special Tool 00 1 490 with Special Tool 11 0 120. Installation: Tightening torque*.  * See Specifications * See Specifications
|  |
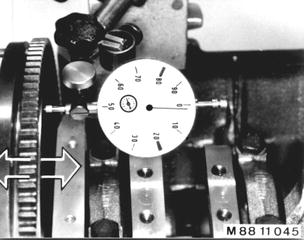
Remove clutch - see 21 21 000. Remove cylinder head - see 11 12 100. Remove timing chain - see 11 31 051. Remove oil pump - see 11 41 000. Measure axial play* prior to removing the crankshaft. Check or replace thrust bearing shells, if the maximum permissible play is exceeded.  21 21 000 21 21 000 11 12 100 11 12 100 11 31 051 11 31 051 11 41 000 11 41 000
|  |
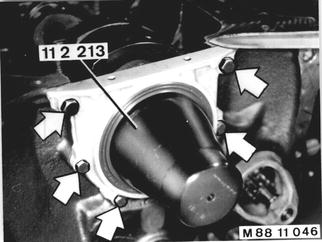
Remove flywheel - see 11 22 000. Unscrew end cover. Installation: Use Special Tool 11 2 213 to avoid damaging the radial oil seal. Cut off gasket on the oil pan sealing surface.  11 22 000 11 22 000
|  |
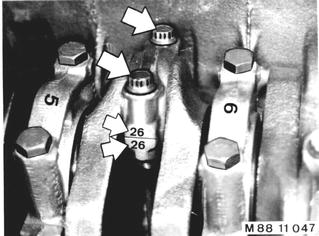
Unscrew conrod bearing caps. Installation: Replace the conrod bearing shells and measure the control bearing play - see 11 24 571.  11 24 571 11 24 571
|  |
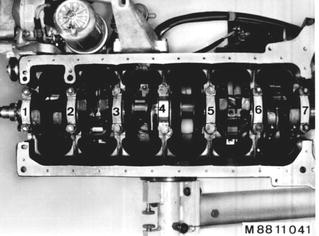
Unscrew crankshaft bearing caps and lift out the crankshaft. Installation: Bearing cap no. 1 is on the sprocket end. Mount the oil pump console with thrust bearing cap (4). Install bearings shells and measure the bearing play - see 11 21 531. Installation: Measure axial play with the crankshaft installed - loosen bearing cap no. 4 again. Apply knocks from a plastic hammer on the rear and front ends of the crankshaft to center the thrust bearing. Tighten thrust bearing cap to specified torque*. Measure the axial play*. Clean oil and water bores again thoroughly to remove casting sand, if the crankcase is replaced.  11 21 531 11 21 531 * See Specifications * See Specifications
|  |
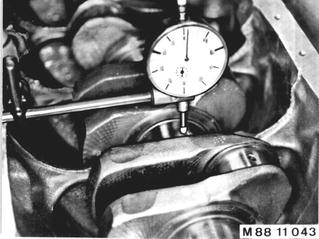
Check Runout: Install bearing shells 1 and 7. Apply dial gaga on the center bearing and measure the runout* while turning the crankshaft.  * See Specifications * See Specifications
|  |