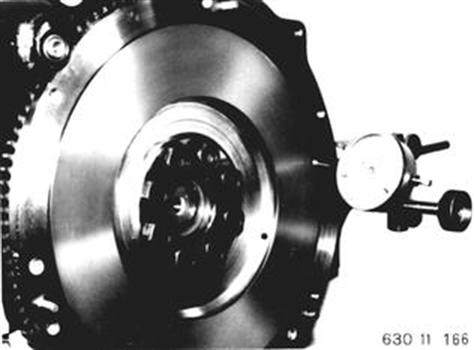
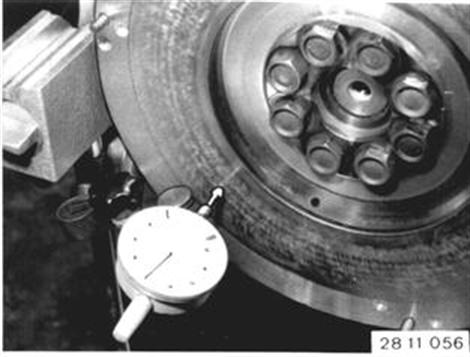
REMOVING AND INSTALLING FLYWHEEL Remove clutch 21 21 000. Check flywheel´s axial runout¹).  21 21 000 ¹) See Specifications 21 21 000 ¹) See Specifications
|  |
Hold flywheel with Special Tool 11 2 160. Unscrew stretch bolts. Installation: Be sure to replace stretch bolts and to install new ones with Loctite No. 270. Remove flywheel. | 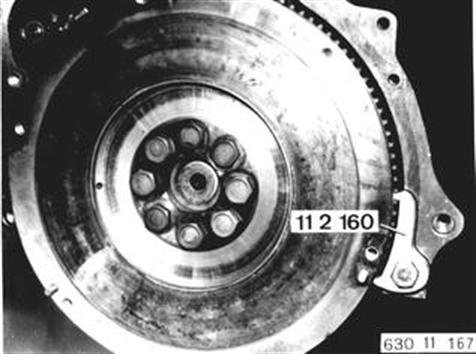 |
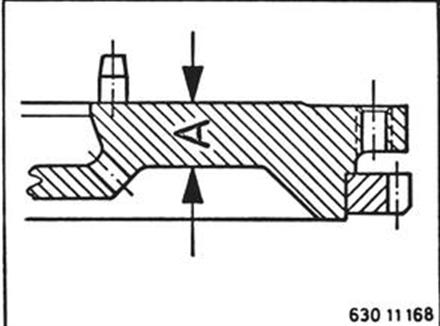
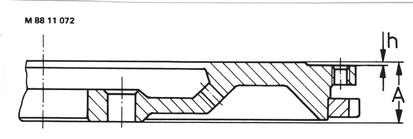
Installation: Friction surfaces can be ground¹). But wall thickness within friction area must not be ground to less than A = 13,5 mm (0.531´´). ¹) See Specifications
|  |
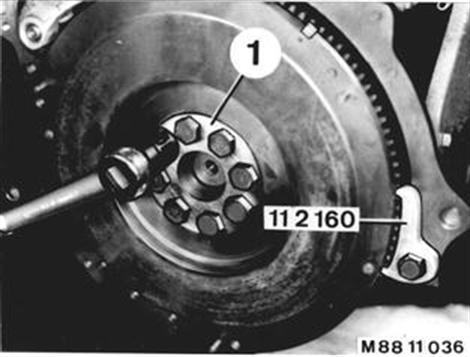
Vehicles after change point in 1982 REMOVING AND INSTALLING FLYWHEEL Remove clutch disc 21 21 000. Hold flywheel with Special Tool 11 2 160. Unscrew vbolts and take off flywheel. Installation: Clean tapped bores. Insert ring (1). Replace and install expansion bolts with Loctite No. 270**. Tightening torque*. * See Specifications 21 21 000 ** Source: HWB
|  |
 |
|
Friction surface may be machined to minimum thickness A*. If machining the friction surface reduces distance "h" to zero, the flange surface distance "h" has to be machined. * See Specifications
|  |