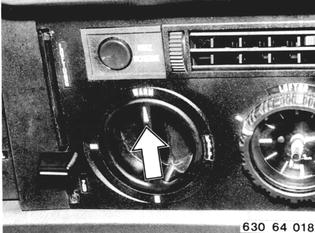
REMOVING AND INSTALLING HEATER If applicable, remove and install evaporator housing 64 51 020. Disconnect battery ground. Remove and install tray 51 16 200. Detach glove box at left and right joints. Set left rotary control to "warm". Drain some of coolant. Disconnect warm water hoses on heater.  64 51 020 64 51 020 51 16 200 51 16 200
|  |
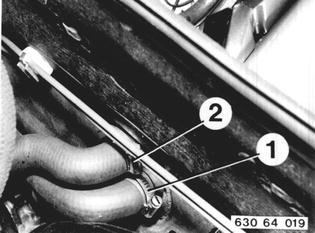
Installation: Press warm water hoses tight against firewall. Tighten hose clips. Supply hose (1) to cylinder head. Return hose (2) to intake manifold. Add coolant and bleed system - 17 00 039.  17 00 039 17 00 039
|  |
Separate left and right control shafts with Special Tool 64 1 000. Installation: Control shafts will be heard as they engage. | 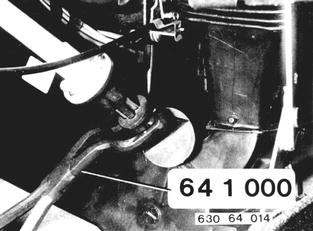 |
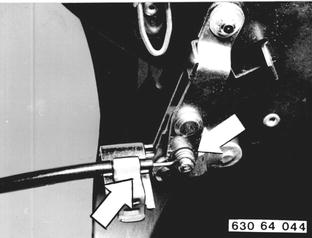
Loosen left and right clips. Take cables out of levers. Installation: Adjust both fresh air supply cables - 64 11 064.  64 11 064 64 11 064
|  |
Pull wire plut out of plug housing. | 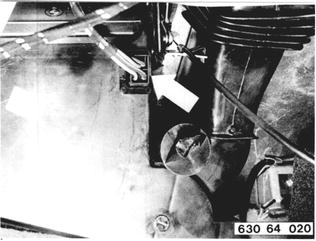 |
Open left and right fasteners, and remove cover (1). | 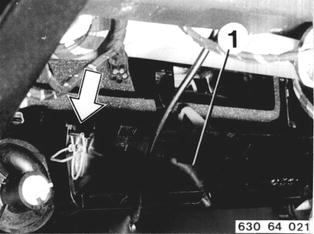 |
Loosen screw. Remove mounting bracket. | 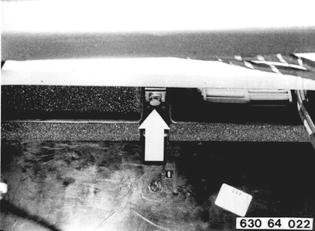 |
Loosen left and right screws (1 and 2). Unscrew front screws and remove heater blower cover. | 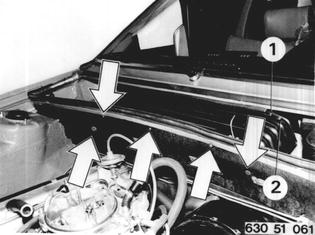 |
Unscrew left and right nuts. Remove heater toward inside. Installation: Place connectors into defroster nozzles. | 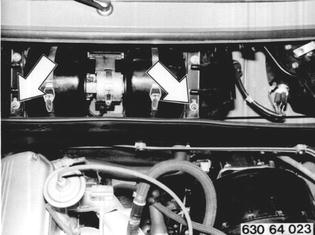 |
Vehicles after change point in 1982 REMOVING AND INSTALLING HEATER Remove and install evaporator 64 51 590. Unscrew nuts on left and right side.  64 51 590 64 51 590
| 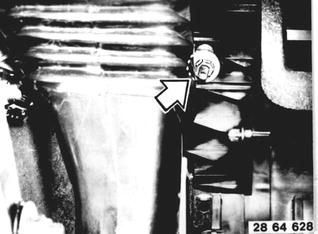 |
Disconnect and remove both water hoses (1 and 2). Installation: Fill and bleed cooling system. | 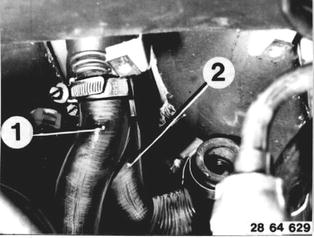 |
Unscrew bolts and take off cover. | 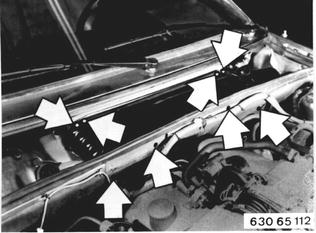 |
Unscrew both nuts. Remove heater. Installation: Make sure air ducts are positioned correctly. | 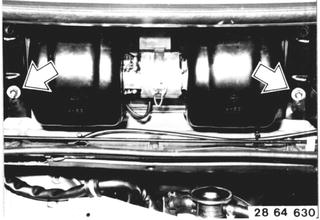 |
BMW 628csi - M635csi (M6)»64 - Heating and air conditioning system»64 11 200 - Heater - removing and installing