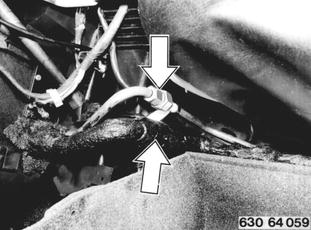
REMOVING AND INSTALLING EVAPORATOR HOUSING Disconnect minus lead at battery. Remove and install shelf - 51 16 200. Detach glove compartment joints. Drain refrigeratn at valve slowly - observe safety regulations! Remove no-drip tape. Detach refrigerant lines at evaporator. Importan: Plug refrigerant lines with sealing plugs without delay. Installation: Coat threads with rrefrigerant. Use copper seals only once. Discharge and charge air conditioner - 64 50 009. Wrap no-drip tape around refrigerant lines after leak test to prevent condensation. Tighten to specified torque¹).  51 16 200 51 16 200 64 50 009 64 50 009 ¹) See Specifications ¹) See Specifications
|  |
Detach rear bracket. | 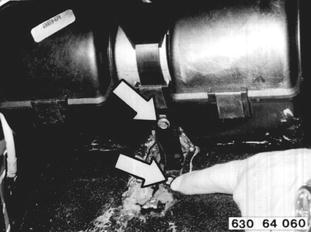 |
Loosen left and right bolts. | 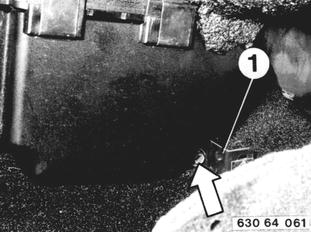 |
Disconnect plug between evaporator and heater controls. | 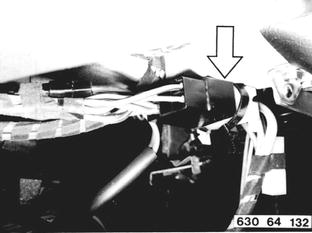 |
Disconnect wires and plug connectors, and unscrew temperature sensor carefully. Lift evaporator housing and remove it toward the rear carefully. Installation: Slide in temperature sensor up to stop, being careful not to bend it off. Connect wires according to wiring diagram. | 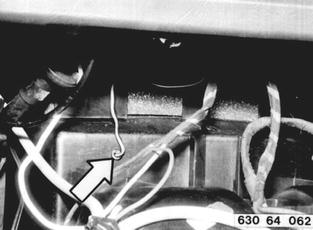 |
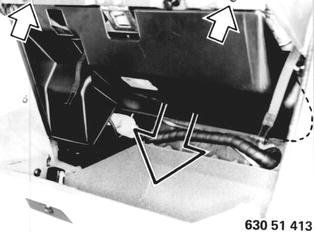
Vehicles after change point in 1982 REMOVING AND INSTALLING COMPLETE EVAPORATOR HOUSING Discharge prerssure in air conditioner with help of a valve core remover. Installation: Discharge, charge and check air conditioner for leaks after finishing installation. | 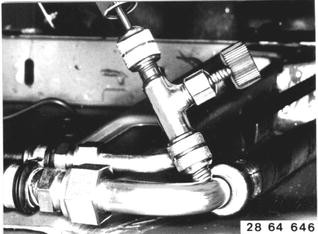 |
 |
|
Unscrew screws (1) and take off impact switch. Installation: Don't forget spacer (3) between holder (2) and cross member. | 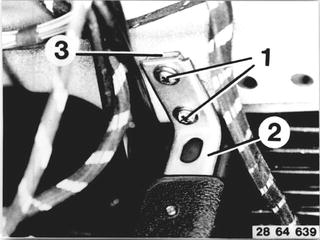 |
Remove insulating compound (1). Unscrew both pipe connections (2 and 3). Insert plugs in open connections immediately . Installation: Replace gaskets. Tightening torque*. Apply insulating compound again.  * See Specifications * See Specifications
| 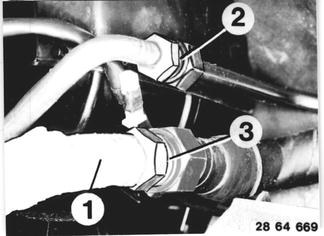 |
Cars with Additional Air Conditioner: Cut off straps. Disconnect capillary tube connection. Installation: Replace gasket. Tightening torque*.  * See Specifications * See Specifications
| 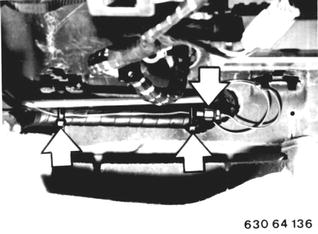 |
Disconnect relay socket (1) with relay. Pull off plug (2). | 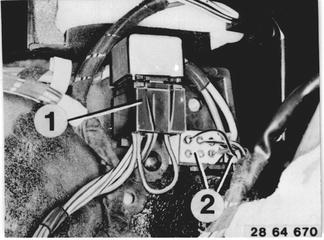 |
Pull off plug (2) on temperature sensor (1). | 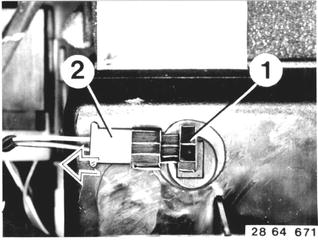 |
Unscrew screws (1 and 2). Remove bracket (3). | 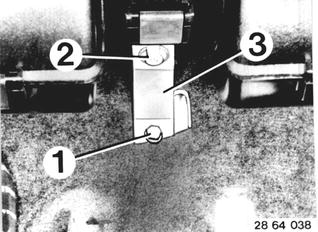 |
Unscrew screw (1) on left and right sides. | 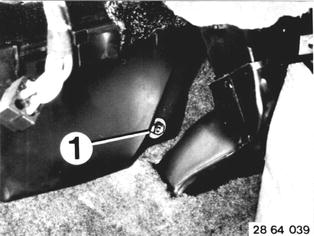 |
Lift and remove evaporator housing. If applicable, open fasteners on left and right sides. | 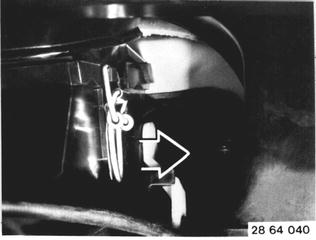 |
BMW 628csi - M635csi (M6)»64 - Heating and air conditioning system»64 51 020 - Evaporator housing - removing and installing