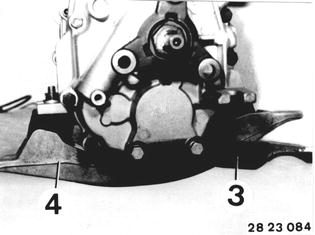
Vehicles after change point in 1982 REMOVING AN INSTALLING/SEALING TRANSMISSION CASE FRONT SECTION Remove transmission 23 00 022. Unscrew exhaust bracket (3) and cross member (4) with rubber mounts.  23 00 022 23 00 022
|  |
Engage 3rd gear. Push back spring sleeve (1). Drive out cylindrical pin (2). Pull off selector rod. Pull off selector rod joint. Note: Mount selector rod joint with offset side on left when looking in forward direction. | 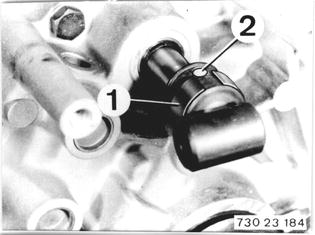 |
Mount transmission on Special Tool 23 0 070 in conjunction with Special Tool 00 1 490. Drain oil. | 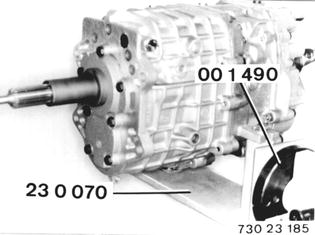 |
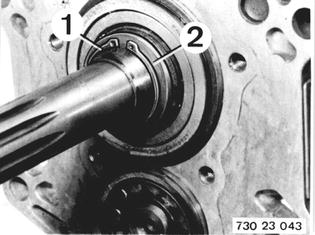
Remove guide flange 23 11 622. Lift out circlip (1). Take off grooved washer (2). Installation: Position grooved washer that groove faces the circlip.  23 11 622 23 11 622
|  |
Lift out circlip (3). Remove washer (4). Installation: Always replace circlip. | 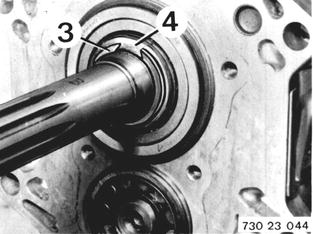 |
Lift out end cap (5). Remove spring (6) and lockpin (7). Installation: Check installed position. Remove backup light switch. | 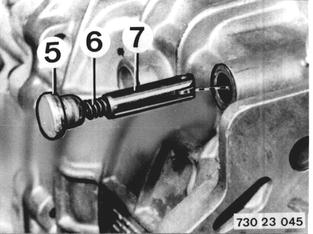 |
Drive out cylindrical pin. Unscrew bolts. | 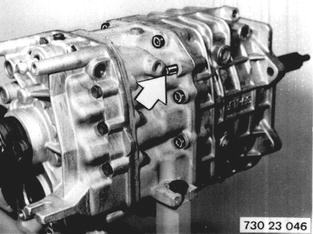 |
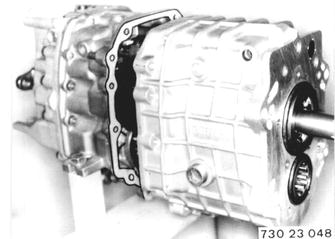
Pull off transmission case front section with Special Tools 23 1 170 and 33 1 301. | 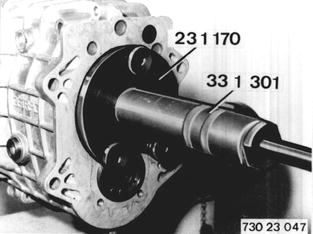 |
Coat sealing surfaces with Loctite No.573. Sealing surfaces must be cleaned thoroughly and dried of oil. Mount transmission case front section. Tightening torque*.  * See Specifications * See Specifications
|  |
Install lockpin and backup light switch. Note arrangement of lockpin. | 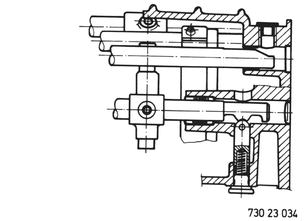 |
Heat ball bearing inner race (8) to about 80°C (175°F) with a hot air blower and slide on to input shaft. Pull out input shaft for this purpose. | 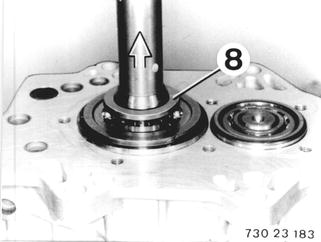 |
Adjust play between washer (4) and circlip (3) to 0 ... 0.09 mm (0 to 0.0035´´). Circlips (3) are available from Parts in various thicknesses. Install grooved washer and circlip. | 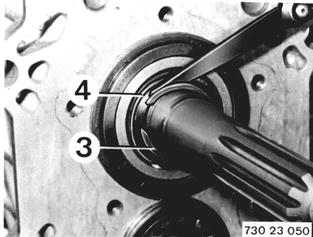 |
BMW 628csi - M635csi (M6)»23 - Transmission-manual»23 11 013 a - Transmission case front section - remove and install / check