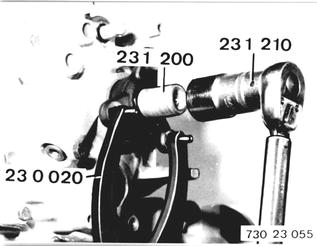
REMOVING AND INSTALLING/SEALING TRANSMISSION CASE REAR SECTION Remove lockplate. Mount Special Tool 23 1 200. Hold output flange with Special Tool 23 0 020. Unscrew collar nut¹) with Special Tool 23 1 210. Installation: Install collar nut with Loctite No. 270.  ¹) See Specifications for tightening torque ¹) See Specifications for tightening torque
|  |
If necessary, pull off output flange with Special Tool 33 1 150. | 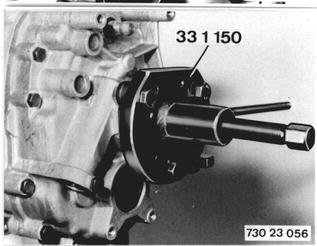 |
Important: Make sure 2nd gear is engaged prior to pulling off cover. Swing selector shaft against left stop ans push forward. | 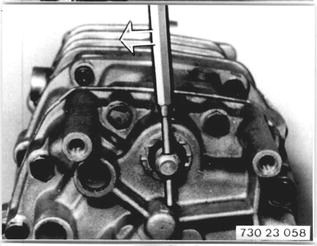 |
Unscrew mounting bolts. Remove speedometer drive. Installation: Check O-ring, replacing if necessary. | 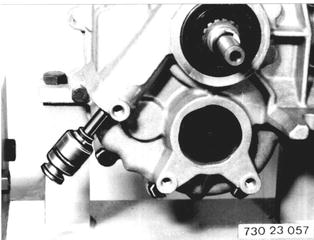 |
Pull off transmission case rear section witch Special Tools 23 1 350 and 33 1 301. | 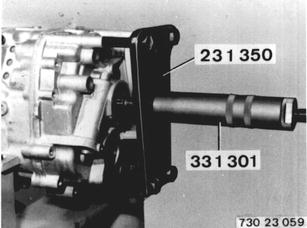 |
Remove rear section. Important: Rollers on selector shaft! | 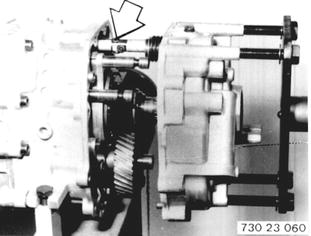 |
Remove radial oil seal. | 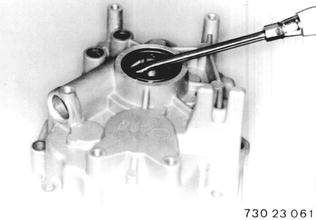 |
Remove speedometer gear (1), washer (2) and ball bearing inner race (3). | 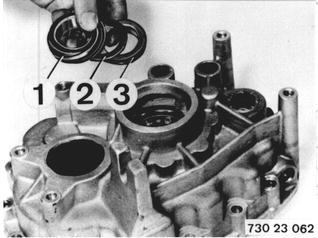 |
Knock out end cover (4). Installation: Replace end cover and install new cover with Loctite No. 573. Knock back cylindrical pin (5). | 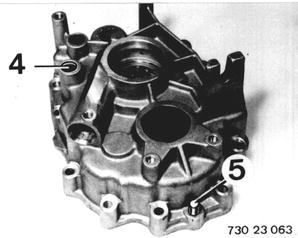 |
Swing up output shaft. 2nd gear is engaged. Move 5th/reverse gear selector rod until opening of 5th gear selector rod aligns with end of 1st/2nd gear selector rod. | 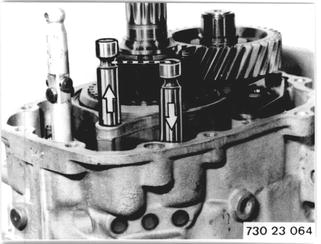 |
Coat sealing surfaces with Loctite No. 573. Sealing surfaces must be absolutely clean and free of oil. Important: Lockpin (6) must move easily and face down. | 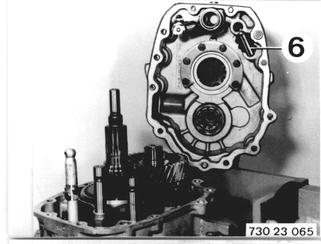 |
Hold rollers in position with grease. Position transmission case rear section. Make sure spring (7) engages on lever (8). | 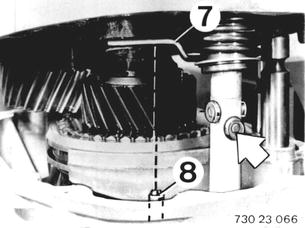 |
Push lockpin (6) into opening of 1st/2nd gear selector rod. Push on and mount transmission case rear section. Install end cover. | 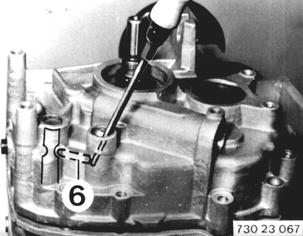 |
Push bearing inner race (9) on output shaft and knock on tight with Special Tool 23 1 440. | 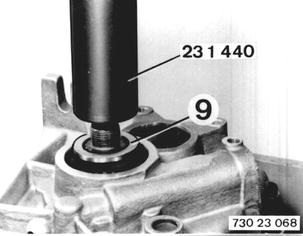 |
Install washer (2) and speedometer gear (1). Install speedometer drive. | 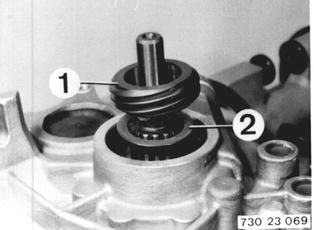 |
Knock in radial oil seal with Special Tools 23 1 380 and 00 5 500. Attach output flange. | 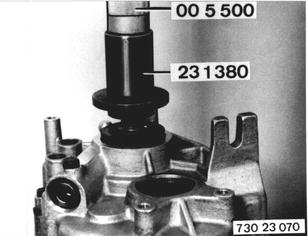 |
Vehicles after change point in 1982 REMOVING AND INSTALLING/SEALING TRANSMISSION CASE REAR SECTION Lift out lockplate. Apply Special Tool 23 1 200. Hold output flange with Special Tool 23 0 020. Unscrew collar nut with Special Tool 23 1 210. Installation: Tightening torque*.  * See Specifications * See Specifications
|  |
Pull off output flange with Special Tool 33 1 150 if necessary. |  |
Caution! Make sure 2nd gear is engaged before pulling off cover. Swing selector shaft to the left against stop and slide forward. |  |
Unscrew rear case section mounting bolts. | 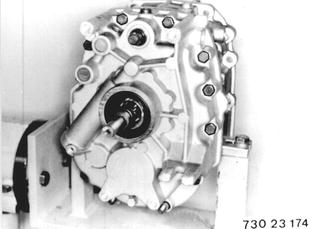 |
Knock back centering pin. Pull off transmission case rear section with Special Tool 23 1 350 used in conjunction with Special Tool 33 1 301. |  |
Take off rear section. Important! Rollers on selector shaft. |  |
Lift out radial oil seal. Installation: Replace radial oil seal. |  |
Remove spacer (2) and ball bearing inner race (3). | 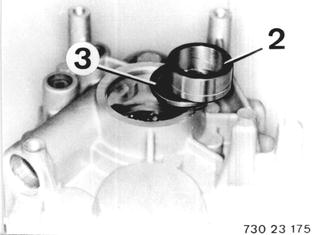 |
Knock out end cap (4). Installation: Replace and install end cap with Loctite No. 573. | 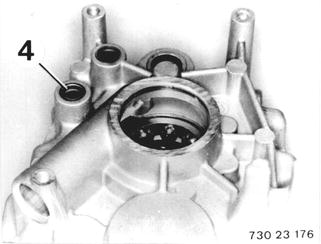 |
Position output shaft upright. Second gear is engaged. Adjust reverse/5th gear selector rod until opening of 5th gear selector rod is aligned with end of 1st/2nd gear selector rod. |  |
Coat sealing surfaces with Loctite No. 573. Sealing surfaces must be cleaned thoroughly and dried of oil. Important! Lockpin (6) must move easily and face down. |  |
Hold rollers in position with grease. Mount transmission case rear section. Make sure spring (7) of selector arm engages on lever (8). |  |
Press lockpin (6) into opening of 1st/2nd gear selector rod. Push on and bolt down transmission case rear section. Tightening torque*. Drive in cntering pin. Install end cap (4).  * See Specifications * See Specifications
|  |
Heat bearing inner race (9) to about 80°C (175°F) with a hot air blower and slide on to output shaft, if necessary knocking on against ball bearing with Special Tool 23 1 440. |  |
Install spacer (2). | 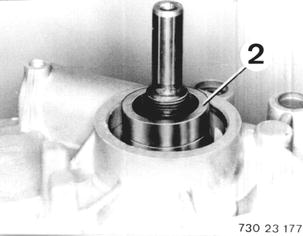 |
Drive in radial oil seal flush with Special Tool 23 1 370. | 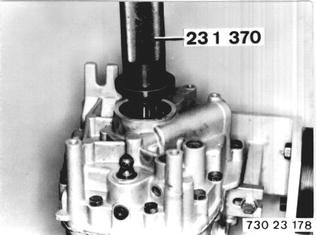 |
Mount output flange. Install collar nut with Loctite No. 270. Apply Special Tool 23 1 200. Hold output flange with Special Tool 23 0 020. Tighten collar nut with Special Tool 23 1 210. Tightening torque*.  * See Specifications * See Specifications
|  |
Install lockplate (1). | 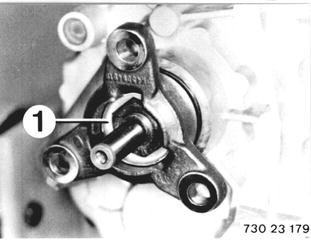 |
BMW 628csi - M635csi (M6)»23 - Transmission-manual»23 11 022 - Transmission case rear section - removing and installing/sealing