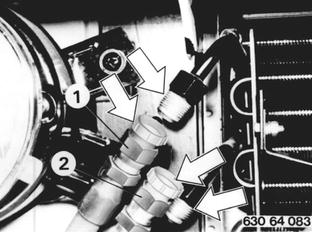
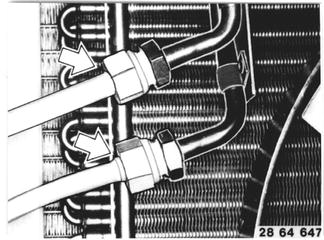
REMOVING AND INSTALLING CONDENSER Remove and install extra fan - 64 54 010. Remove and install side radiator grill - 51 13 040. Detach refrigerant lines. Important: Insert sealing plugs into ends of refrigerant lines without delay to be able to reuse drier. Installation: Coat threads with refrigerant oil to prevent seizure. Use copper seals only once. Line (1) from compressor. Line (2) from drier. Tighten to specified torque¹). Discharge and charge system - 64 50 009.  64 54 010 64 54 010 51 13 040 51 13 040 ¹) See Specifications ¹) See Specifications 64 50 009 64 50 009
|  |
Raise engine hood. Loosen screws. | 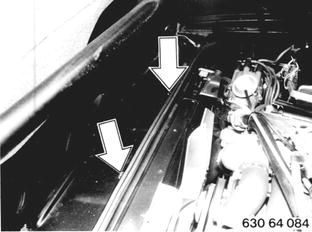 |
Unscrew left and right bolts and remove condenser from below. | 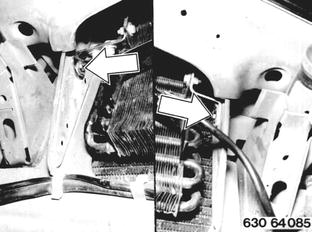 |
Vehicles after change point in 1982 REMOVING AND INSTALLING CONDENSER Remove and install left front grill. Discharge pressure in air conditioner with help of a valve core remover. Installation: Discharge, charge and check air conditioner for leaks after finishing installation of condenser. | 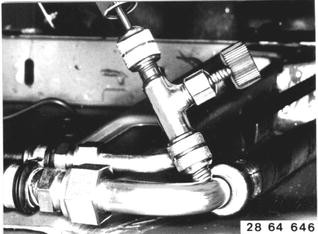 |
Disconnect both pipes on condenser. Insert plugs in open connections immediately. Installation: Tightening torque*. Replace gaskets.  * See Specifications * See Specifications
|  |
Disconnect plug. | 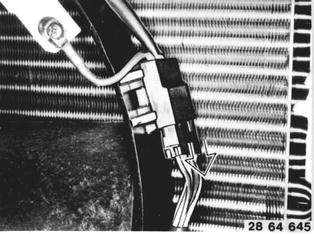 |
Plug Connections of Multiple Pin Plug: Numbering is located on back of plug housing. 1 = brown 2 = black/green 3 = black/blue | |
Unscrew bolts. | 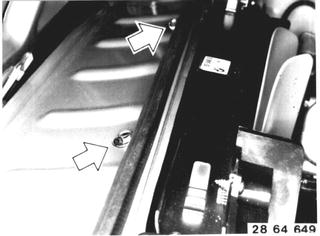 |
Unscrew bolts. Remove condenser with extra fan. Important! Note different length of bolts. Excessively long bolts would damage radiator. | 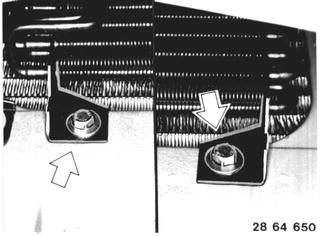 |
Unscrew bolts. Remove ectra fan on condenser. 1 = Bolt 2 = Rubber mount 3 = Washer 4 = Circlip 5 = Nut | 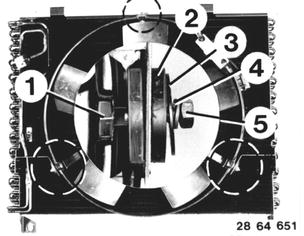 |
Installation: Check code number. | 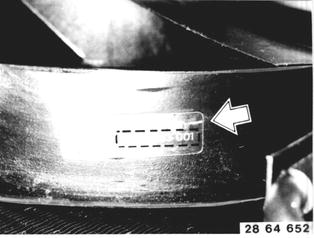 |
BMW 628csi - M635csi (M6)»64 - Heating and air conditioning system»64 53 050 - Condenser - removing and installing