REMOVING AND INSTALLING DRIER Important: Drier is filled with "gel", which is extremely hygroscopic (water absorbent). An open drier subjected to normal moisture will be unusable after 20 minutes. Insert plugs in openings of drier immediately after removing refrigerant lines. Detach refrigerant lines and install plugs immediately. Conform with safety regulations. Installation: Coat threads with refrigerant oil to prevent seizure. Use copper seals only once. Discharge and charge system - 64 50 009. Tighen to specified torque¹).  64 50 009 64 50 009 ¹) See Specifications ¹) See Specifications
| 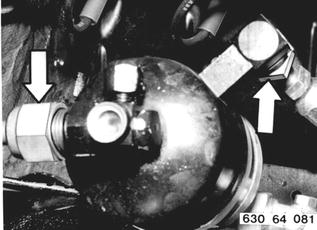 |
Loosen hose clips and remove drier. | 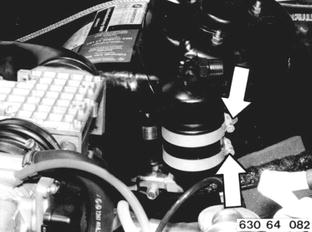 |
Vehicles after change point in 1982 REMOVING AND INSTALLING DRIER Remove and install washing fluid tank. Discharge pressure in air conditioner with help of a valve core remover. Installation: Discharge, charge and check air conditioner for leaks after finishing installation of drier. | 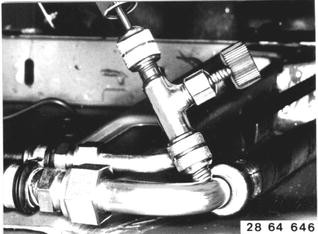 |
Unscrew mounting bolt. | 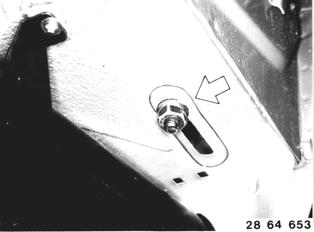 |
Disconnect plug on safety switch of drier. | 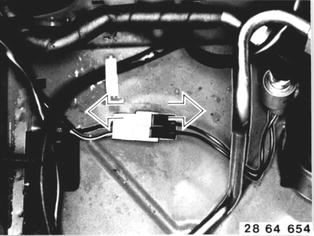 |
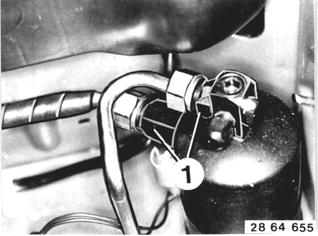
Unscrew both pipes on drier. Counterhold on hexagon (1). Insert plugs in open connections immediately. Installation: Tightening torque*. Replace gaskets.  * See Specifications * See Specifications
|  |
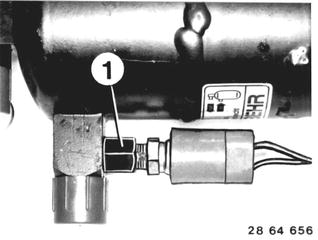
Detach safety switch on drier while holding on hexagon (1). Installation: Install safety switch with Loctite No. 270. Tightening torque*.  * See Specifications * See Specifications
|  |
BMW 628csi - M635csi (M6)»64 - Heating and air conditioning system»64 53 010 - Drier - removing and installing