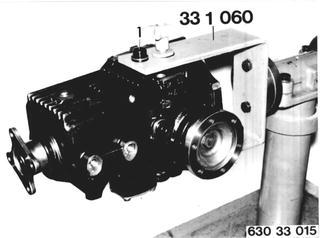
Vehicles before change point in 1982 REPLACING FINAL DRIVE FLANGE SHAFT SEAL (without removing/installing drive pinion) Remove and install final drive - 33 10 010. Drain oil. Mount final drive on Special Tool 33 1 060, after unscrewing oil drain plug (1) for this purpose.  33 10 010 33 10 010
|  |
Remove lockplate. Check total frictional torque value with Special Tool 00 2 000 and note, e.g. 250 Ncm or (22 in.lbs.). Important: This measured total frictional torque value plus the new shaft seal frictional torque value must be reached when assembled, but not exceeded. | 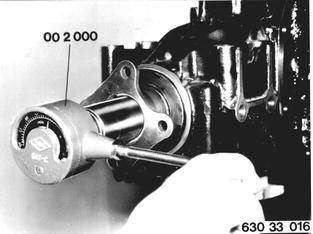 |
Mark relation of input flange and collar nut to pinion. Counterhold input flange with Special Tool 33 1 100 and unscrew collar nut. Installation: Torque values¹).  ¹) See Specifications ¹) See Specifications
|  |
Pull off input flange with Special Tool 33 1 150. Check shaft seal bearing surface on input flange. Replace input shaft when bearing surface shows serious wear. | 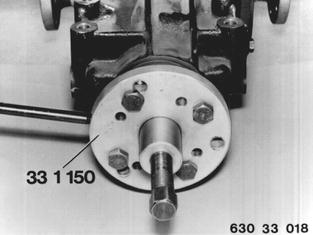 |
Pull out shaft seal with Special Tools 00 5 000 and 00 5 006. | 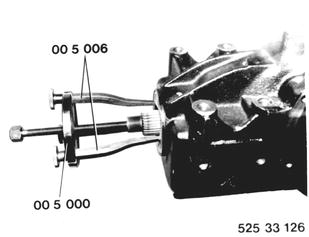 |
Installation: Lubricate sealing lip of shaft seal with final drive gear lube and knock in flush with Special Tools 31 2 040 and 00 5 500. | 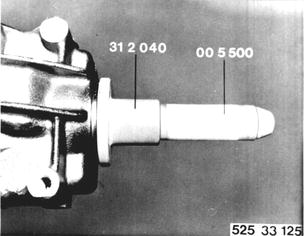 |
Important: Watch marks on input flange and pinion. Press on input flange with Special Tool 23 1 300. Tighten collar nut up to punch mark and check frictional torque value. | 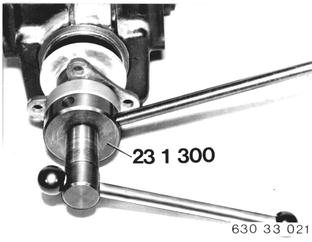 |
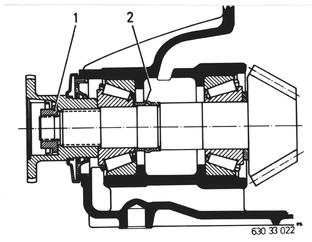
Determine total frictional torque value. Example: Total frictional torque priot to disassembling.........250 Ncm (22 in.lbs) New shaft seal.......+ 20 Ncm (2 in.lbs) Adjust new total frictional torque value to..................270 Ncm (24 in.lbs.) Important: Tighten collar nut (1) to at least 150 Nm (108 ft.lbs.). If this tightening torque value cannot be reached or new total frictional torque value is exceeded, replace holding sleeve (2) and repeat measurement. Lock collar nut with lockplate. Add oil¹).  ¹) See Specifications ¹) See Specifications
|  |
BMW 628csi - M635csi (M6)»33 - Rear axle»33 11 021 - Shaft seal of final drive flange - replacing (without removal and installation of drive pinion)