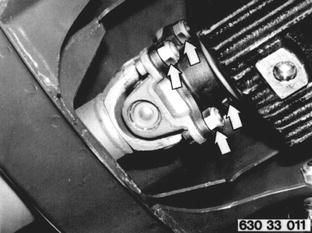
Vehicles before change point in 1982 REMOVING AND INSTALLING FINAL DRIVE Detach propeller shaft. Tghten nuts with Special Tool 26 1 050 and a torque wrench. Installation: Tightening torque¹). Replace self-locking nuts.  ¹) See Specifications ¹) See Specifications
|  |
 |
|
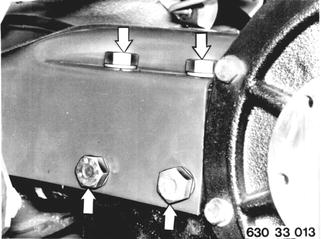
Support final drive and detach it at rear axle support. Installation: Tighten to specified torque¹).  ¹) See Specifications ¹) See Specifications
|  |
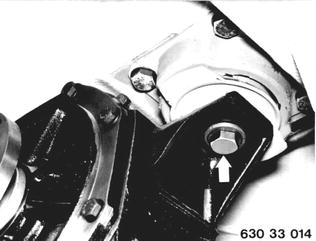
Unscrew rubber mount mounting bolt and remove final drive. Installation: Check rubber mount and replace it if necessary - 33 17 001.  33 17 001 33 17 001
|  |
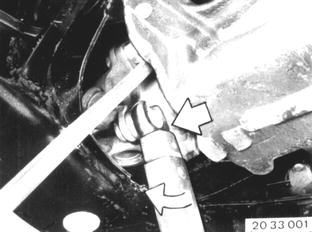
Vehicles after change point in 1982 REMOVING AND INSTALLING FINAL DRIVE Disconnect propeller shaft. Installation: Replace self-locking nuts. Tighten nuts with a torque wrench and socket open-jawed wrench**). Tightening torque*).  *) See Specifications *) See Specifications **) Source: HWB **) Source: HWB
|  |
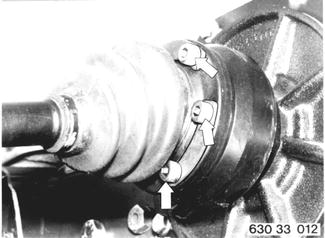
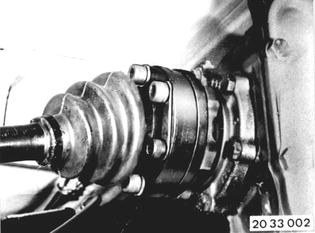
Detach output shafts and suspend with pieces of wire. Installation: Tightening torque*).  *) See Specifications *) See Specifications
|  |
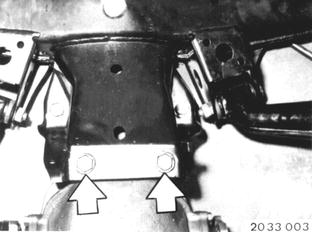
Unscrew final drive bolts on rear axle carrier at top. Installation: Attach final drive with top bolts first Tightening torque*).  *) See Specifications *) See Specifications
|  |
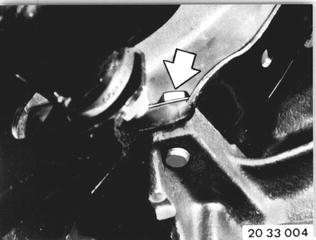
Support final drive from underneath with a floor jack. Unscrew left and right front bolts. Installation: Tightening torque*).  *) See Specifications *) See Specifications
|  |
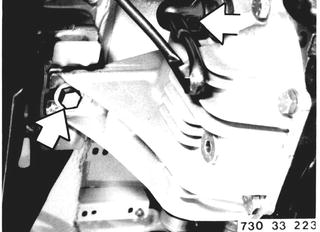
Pull off wires on Speed pulse transmitter. Unscrew rubber mount mounting bolt and lower final drive. Installation: Tightening torque*).  *) See Specifications *) See Specifications
|  |
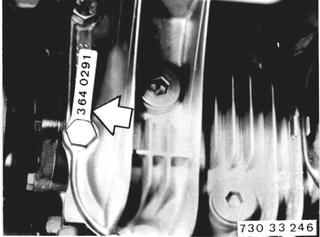
When replacing final drive, check for correct ratio*) stamped on tap bolted to rear cover. Check oil level, correcting with approved final drive oil only - see Service Information of Group 00.  *) See Specifications *) See Specifications
|  |
BREAKING IN PROCEDURES AFTER REPLACING/REPAIRING FINAL DRIVE Strict conformance with these breaking-in procedures in required for preloading the tapered roller bearing. Durning the first 1.000 km (600 miles) the car must be driven at different enging speeds and road speeds, but never faster than 2/3 of the max. permissible speed in 4th gear (direct). For cars with a five speed manual transmission (with overdrive) 2/3 of the max. permissible speed in 4th gear will be applicable to 5th gear. If there is no conformace with these breaking-in procedures there could be seizure between the tapered rollers and inner race guide band, which in turn will continuously cause noise, overheating and oil leakage. Install tag or label for next oil change in view of driver. |