 |
|
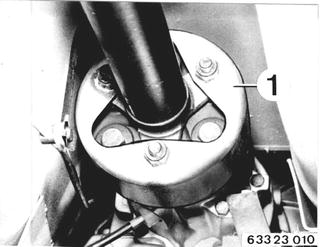
Apply Special Tool 26 1 011. Unscrew bolts. Installation: Use stop nuts only once. | 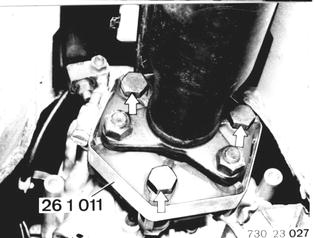 |
Tighten Special Tool 26 1 011 until bolts can be removed by hand. | 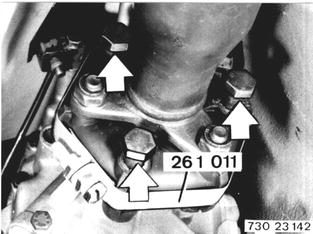 |
Installation: Tighten nuts to specified torque¹) with torque wrench. Important: Only tighten nuts (never bolts) to avoid stress in Giubo coupling. Remove special tool only after tightening nuts.  ¹) See Specifications ¹) See Specifications
| 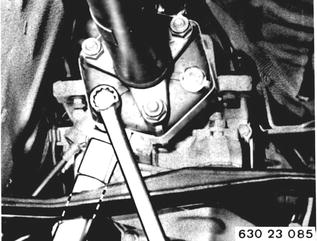 |
Disconnect center bearing. Installation: Preload center bearing forward by distance (A) = about 2 mm (0.080´´). | 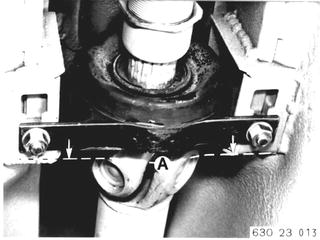 |
Bend propeller shaft down and pull out of centering pin on transmission. Installation: Check center, lubricating with Longterm 2 if necessary. Replace a damaged center. | 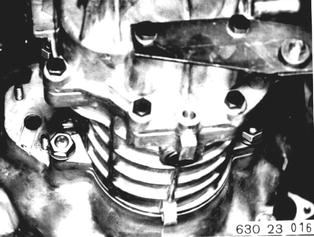 |
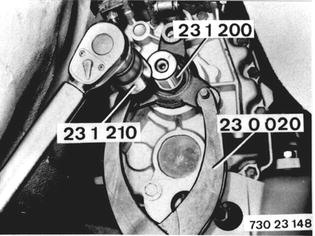
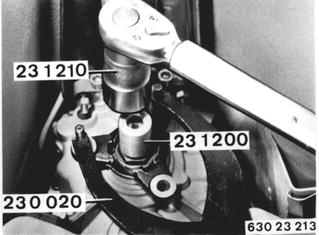
Remove lockplate. Mount Special Tool 23 1 200. Hold output flange with Special Tool 23 0 020. Unscrew collar nut¹) with Special Tool 23 1 210.  ¹) See Specifications for tightening torque ¹) See Specifications for tightening torque
|  |
If necessary, pull off output flange with Special Tool 33 1 150. | 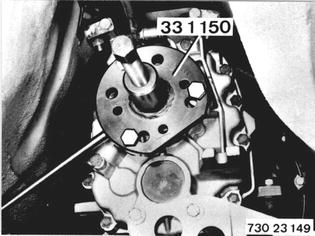 |
Pull out radial oil seal with Special Tool 00 5 000. | 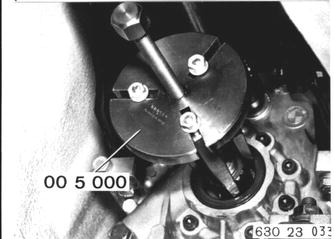 |
Knock in radial oil seal (1) with Special Tools 23 1 380 and 00 5 500. Installation: Lubricate sealing lip with oil. | 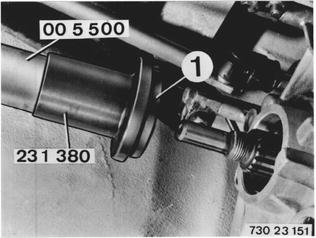 |
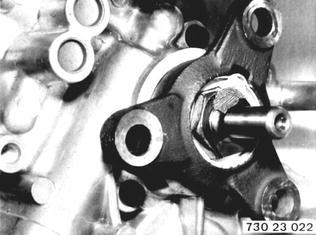
Attach output flange. Install collar nut¹) with Loctite No. 270. Lock lockplate in groove of output flange.  ¹) See Specifications for tightening torque ¹) See Specifications for tightening torque
|  |
Vehicles after change point in 1982 REPLACING RADIAL OIL SEAL FOR OUTPUT FLANGE Unscrew propeller shaft - see 23 00 022. Lift out lockplate. Apply Special Tool 23 1 200. Hold output flange with Special Tool 23 0 020. Unscrew collar nut with Special Tool 23 1 210.  23 00 022 23 00 022
|  |
If too difficult, pull off output flange with Special Tool 33 1 150. | 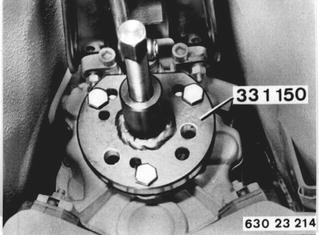 |
Pull out radial oil seal with Special Tool 00 5 010. | 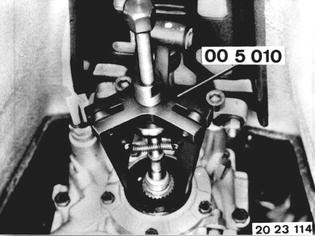 |
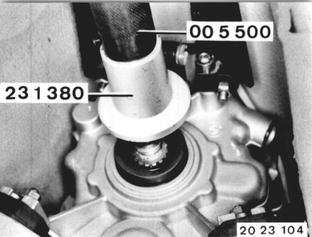
Lift out radial oil seal. Drive in radial oil seal with Special Tools 23 1 380 and 00 5 500. Installation: Lubricate sealing lips with oil. Bolt output flange. Tightenning torque*. Install collar nut with Loctite No. 270. Lock lockplate in groove of output flange.  * See Specifications * See Specifications
|  |
Transmission 260/6: Drive in radial oil seal flush with Special Tool 23 1 370. |  |
BMW 628csi - M635csi (M6)»23 - Transmission-manual»23 12 053 - Radial oil seal for output flange - replacing