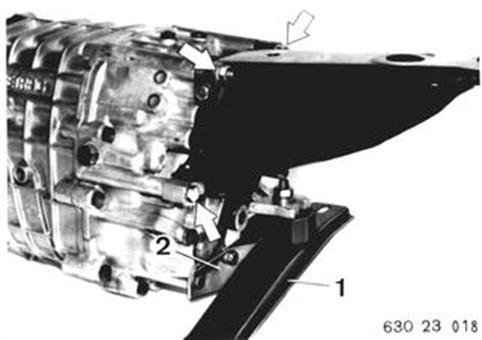
REMOVING AND INSTALLING/SEALING TRANSMISSION CASE FRONT SECTION Remove and install transmission 23 00 020. Detach console. Installation: Check bearing brackets and replace them if necessary. Detach cross member (1) and exhaust carrier (2).  23 00 020 23 00 020
|  |
Slide back spring sleeve (3). Drive out cylindrical pin (4). Pull off selector rod. | 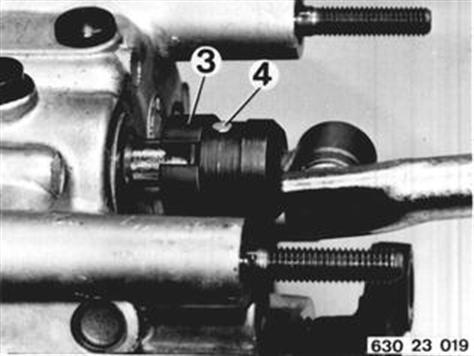 |
Mount transmission on Special Tool 23 0 160. Drain oil. | 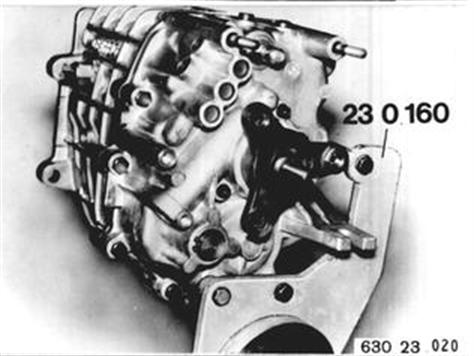 |
Remove cover. Important: Shims! Installation: Replace gasket. Install bolts with a sealing compound. Important: Note lengths of bolts. Bolts (1 ... 3) 8 x 30 mm Bolts (4 ... 7) 8 x 22 mm | 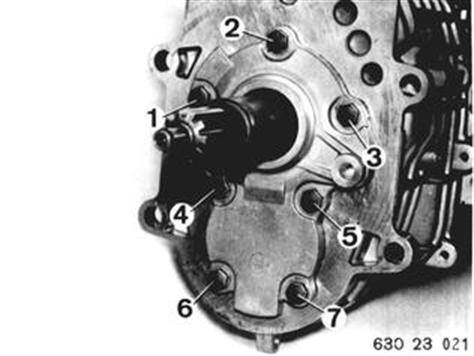 |
Lift out circlip. Remove support disc and shim. | 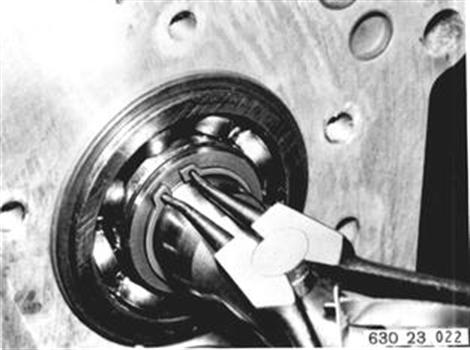 |
Pull grooved ball bearing off of output shaft with Rillex 23 2 060. Important: Spacer! | 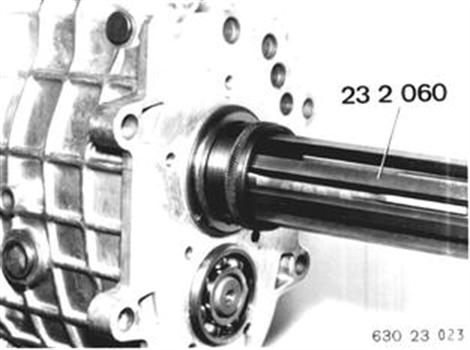 |
Pull grooved ball bearing off of layshaft with Rillex 23 2 050. |  |
Lift off cover (1). Remove spring (2) and lockpin (3). | 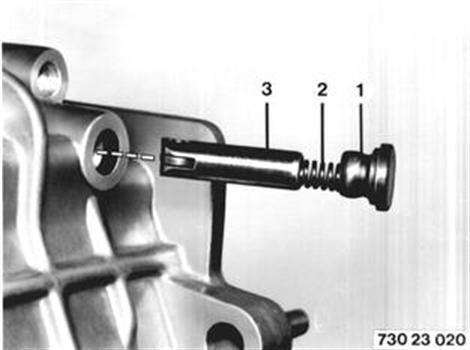 |
Unscrew backup light switch (1). Important: Seal! Only for Version with Reverse Gear Support: Unscrew bolt (2). Installation: Install bolt with Loctite No. 270. Detach case front section at cover. Replace gasket. | 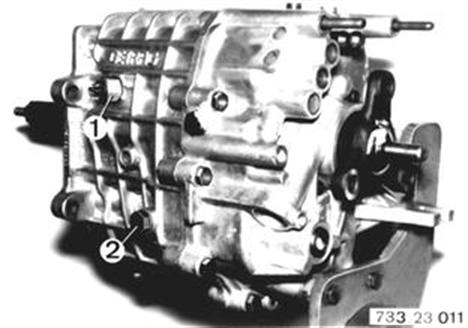 |
Attach transmission case front section. Install backup light switch and lockpin. Locate lockpin. | 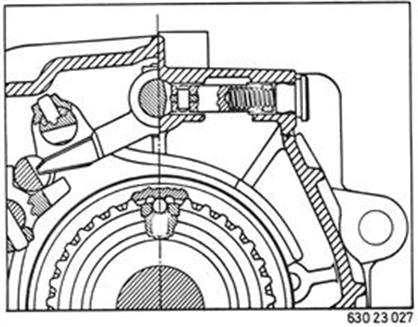 |
Heat grooved ball bearing inner race to about 80°C (176°F) and mount on layshaft (1). Heat grooved ball bearing inner race to about 80°C (176°F) and install on input shaft with Special Tool 23 1 000 to fit tight. | 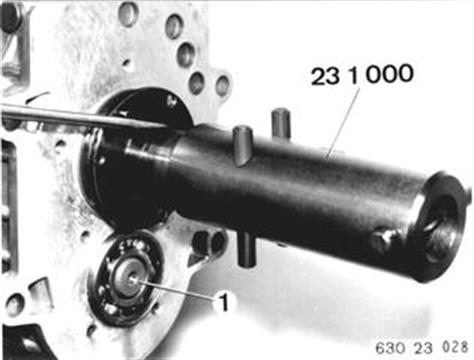 |
Remove pressure pin. Installation: Drive grooved ball bearing into transmission case to fit tight. | 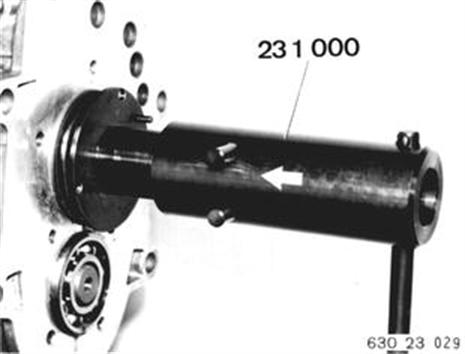 |