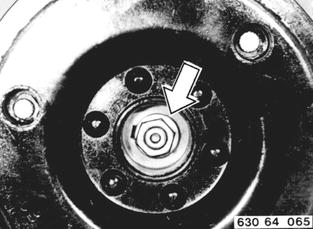
REPLACING SHAFT SEAL FOR A/C COMPRESSOR Remove and install compressor 64 52 020. Unscrew nut on pulley. Installation: Tightening torque¹).  64 52 020 64 52 020 ¹) See Specifications ¹) See Specifications
|  |
Press off spring plate with Special Tool 64 5 000. Important: Shims! Installation: Install shims to adjust clearance between spring plate and pulley to about 0.7 ... 1.3 mm (0.028 to 0.051´´). | 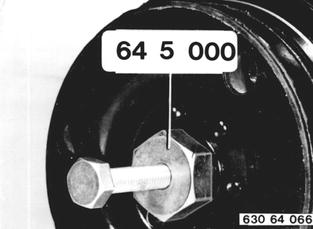 |
Remove key (1) and circlip. | 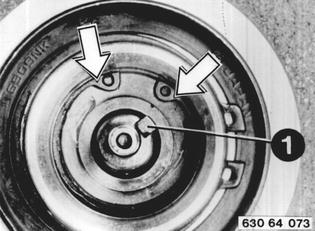 |
Installation: Install key (1) witch Special Tool 64 5 060 that rounded end faces compressor. | 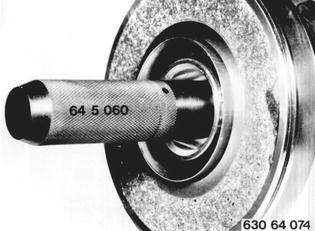 |
Pull of thrust washer with Special Tool 64 5 030. | 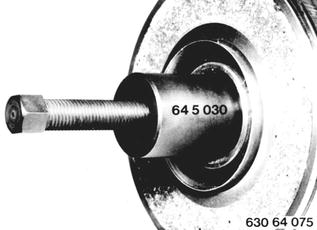 |
Installation: Press thrust washer into compressor with sleeve from Special Tool 64 5 030. | 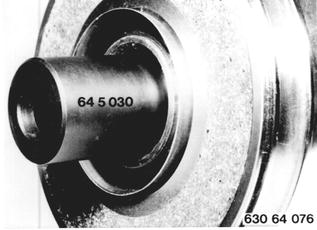 |
Place Special Tool 64 5 040 in compressor, turn clockwise slightly and pull out sliding seal ring. Installation: Coat seal with refrigerant. | 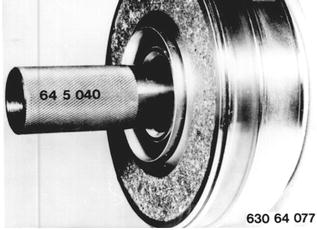 |
Installation: Place seal in Special Tool 64 5 040 and guide it in, that its straight surfaces will engage in the existing openings in the compressor shaft. | 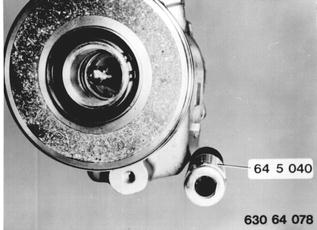 |
Remove o-ring with a plastic needle. Installation: Coat o-ring with refrigerant and install. | 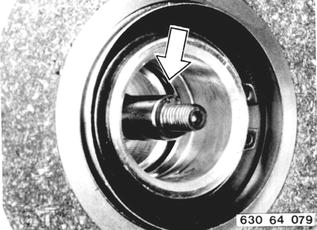 |
BMW 628csi - M635csi (M6)»64 - Heating and air conditioning system»64 52 141 - Shaft seal for A/C compressor - replacing