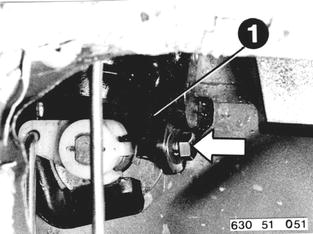
REMOVING AND INSTALLING LOCK CYLINDER Detach and attach door trim - 51 41 000. Pull off Acella plastic sheet as far as required. Unscrew screw and remove bracket (1). Installation: Apply tension to bracket when tightening.  51 41 000 51 41 000
|  |
Detach connecting rod at door lock. | 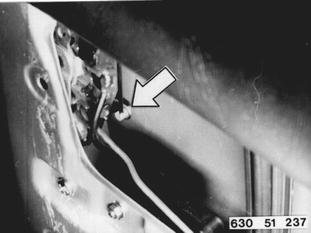 |
Press off clip (1). Turn lock cylinder 90° and remove toward inside. | 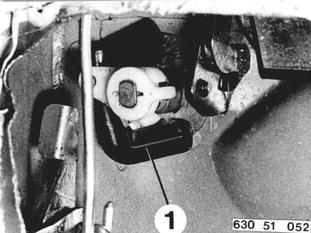 |
The key number can be seen on a removed lock cylinder. For example: HB 1070. | 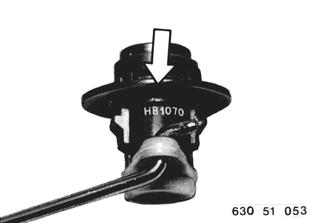 |
Vehicles after change point in 1982 REMOVING AND INSTALLING LOCK CYLINDER ASSY. Remove dorr trim panel - see 51 41 000. Pull off plastic sheet as required. Unscrew bolt and remove bracket (1). Installation: Preload bracket when bolting down.  51 41 000 51 41 000
|  |
Detach connecting rod on door lock. | 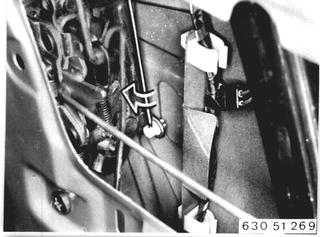 |
If applicable, lift out clamps: Detach connecting rod on door lock. | 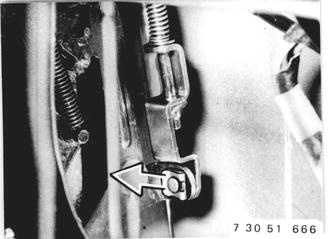 |
Disconnect lock heating plug. | 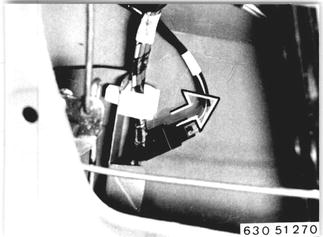 |
Press out retainer (1). Turn lock cylinder 90° and take off toward inside. | 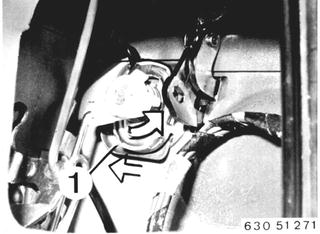 |
Installation: 1 = Lock cylinder 2 = Contact tongue 3 = Switch 4 = Clamp Important! Lock cylinders are different for left and right sides. L = Left side Also refer to Troubleshooting beginning on page 51 - 49. | 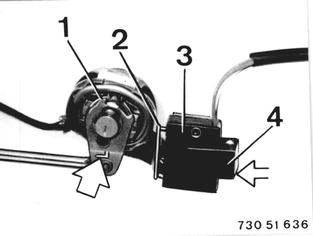 |
BMW 628csi - M635csi (M6)»51 - Body - interior equipment»51 21 140 - Front door lock cylinder - removing and installing