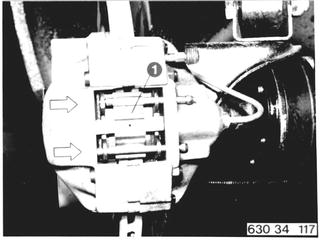
Vehicles before change point in 1982 REMOVING AND INSTALLING REAR BRAKE PADS Remove and install rear wheels - 36 10 300. Disconnect rear right plug for pad wear indicator and take wires out of clamp. Drive out retaining pins and remove cross spring (1). Installation: Check cross spring and retaining pins, and replace them if necessary. Only use narrow cross springs.  36 10 300 36 10 300
|  |
Pull out brake pads with Special Tool 34 1 010. Important: Mark location of used brake pads. If brake pad wear is one-sided, do not mix up brake pads. | 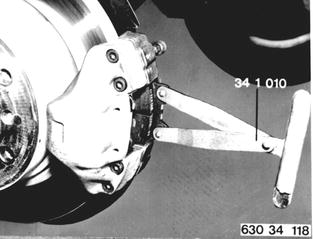 |
Knock out jammed brake pads with Special Tool 34 1 000. Important: Mark location of used brake pads. If brake pad wear is one-sided, do not mix up brake pads. | 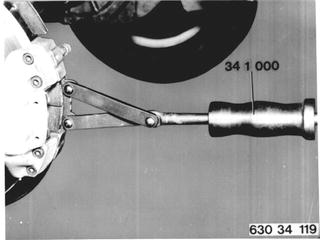 |
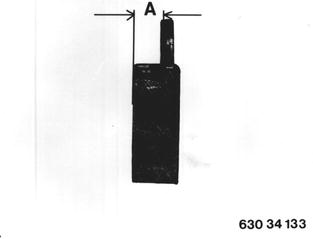
Installation: Note minimum thickness (A)¹). Brake pads must move easily in caliper.  ¹) See Specifications ¹) See Specifications
|  |
When Replacing: Use repair kit. Important: Replacements must always be on both calipers of one axle at the same time. Note color Code (B)¹) and make¹).  ¹) See Specifications ¹) See Specifications
| 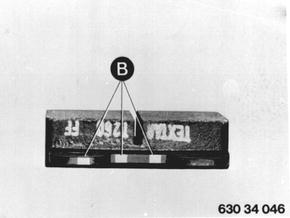 |
Important: Install a new wear sensor on right side of left brake pad. Installation: Thicker side of wear sensor faces brake disc. | 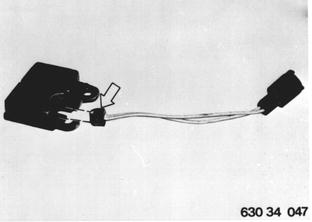 |
Clean guide surface or seat in housing opening with a cylindrical brush. Never use mineral oil type cleaning solutions. New brake pads must move easily in caliper. | 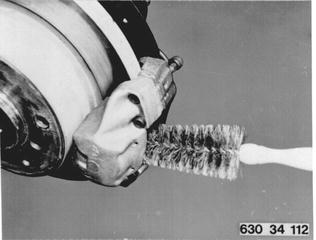 |
Press piston into caliper up to stop with Special Tool 34 1 050. Important: Watch brake fluid level in tank. | 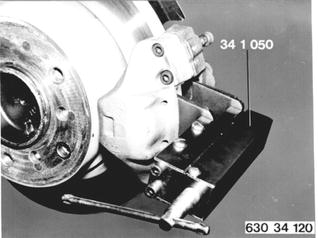 |
Check 20° position of piston with Special Tool 34 1 100. 20° shoulder of piston faces brake disc inlet. Refer to "Troubleshooting Brakes" for results from incorrect positioning. | 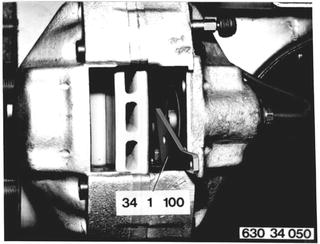 |
Corrections of piston to its 20° position are made with Special Tool 34 1 060. Install brake pads. Installation: Watch level of brake fluid in tank. Pump brake pedal to move brake pads against brake disc. Important: Break in new brake pads during first 600 km (400 miles). Avoid violent stops from top speeds. Non-conformance will prevent brake pads from reaching their most favorable wear and friction values. | 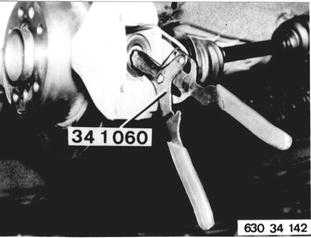 |
Vehicles after change point in 1982 REMOVING AND INSTALLING REAR BRAKE PADS Remove and install rear wheels. Press off plastic caps (1). Pull off plug for brake pad wear indicator on right side. | 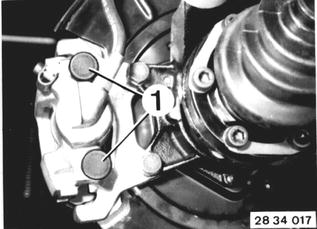 |
Unscrew guide bolts (2). Installation: Only clean guide bolts - don´t lubricate. Check condition of guide bolts, replace if necessary. Tightening torque*).  *) See Specifications *) See Specifications
|  |
Press out clamp (3). Pull off floating caliper from behind. | 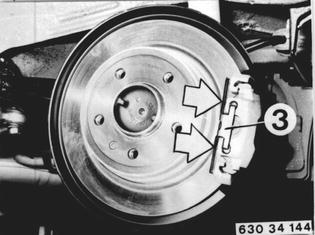 |
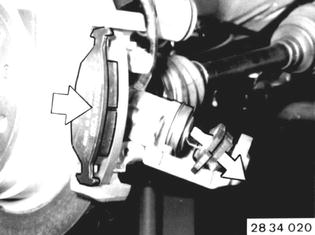
Remove outer brake pad. Inner brake pad seats in piston with spring. Important! Brake pads must always be replaced on both brake caliper of one axle. Check make*).  *) See Specifications *) See Specifications
|  |
Installation: Push back piston completely. Clean brake pad guides and rexesses with a brush**). Check dust cover for damage.  **) Source: HWB **) Source: HWB
|