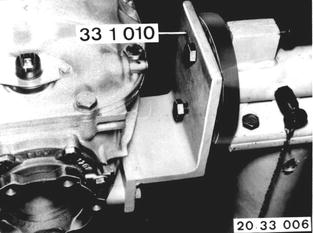
Vehicles after change point in 1982 REPLACING SHAFT SEAL FOR INPUT FLANGE - Final Drive Removed - Remove final drive - see 33 10 010 Mount final drive on Special Tool 33 1 010. Drain oil: Installation: Pour in oil - oil volume*. See Service Inforamtion of Group 00 for oil grade.  33 10 010 33 10 010 * See Specifications * See Specifications
|  |
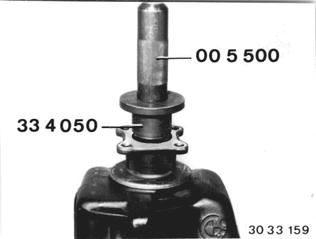
Lift out the lockplate. Installation: Drive in the new lockplate with Special Tools 33 4 050 and 00 5 500. | 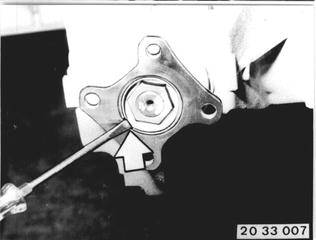 |
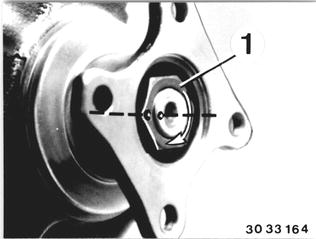
Punch mark position of nut (1) to the input shaft. | 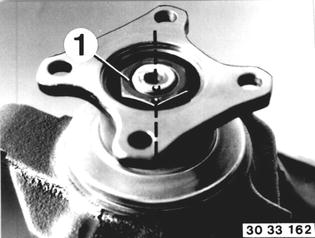 |
Unscrew nut (1), counterholding on the flange with Special Tool 23 0 020. | 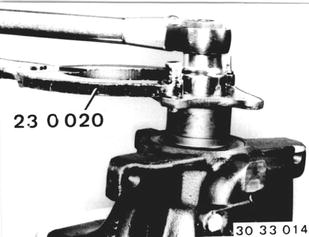 |
Pull off the input flange with Special Tool 33 1 150. | 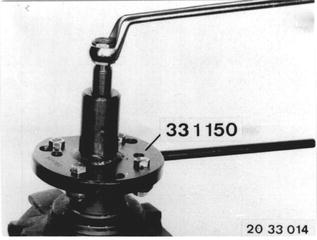 |
Pull out the shaft seal with Special Tool 00 5 010 and a suitable thrust piece. | 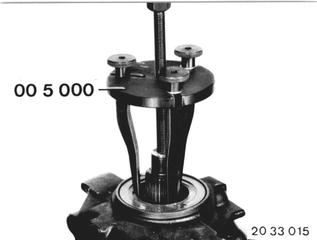 |
Installation: If the bearing surface on the input flange is scored seriously, replace the input flange. Important! If the input flange has to be replaced, measure the friction torque with the old input flange. If applicable, tighten the nut to the punch mark, measure and note the friction torque value - see 33 11 011. The old shaft seal does not have to be installed for measuring.  33 11 011 33 11 011
| 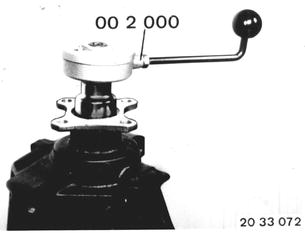 |
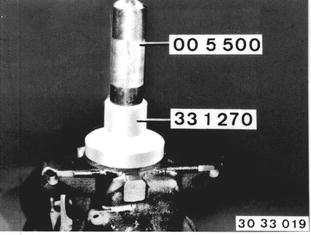
Dip a new shaft seal in final drive gear lube ** and drive in the seal flush with Special Tool 33 1 270.  ** See Service Information of Gr. 00 ** See Service Information of Gr. 00
|  |
Press on the input flange, if necessary with Special Tool 23 1 300; do not tighten. | 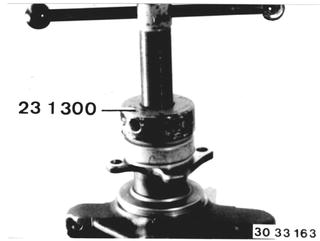 |
Tighten the input flange with collar nut (1) and then turn the nut further until the punch marks are aligned precisely. Important! Never tighten the collar nut past the punched marks and then back again, since then the bushing would have to be replaced - see 33 12 551. Installation: Replace the lockplate. Pour in final drive gear lube**.  33 12 551 33 12 551 ** See Service Information of Gr. 00 ** See Service Information of Gr. 00
|  |
 |