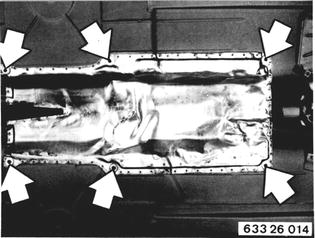
REPLACING GIUBO COUPLING/HARDY DISC Remove exhaust assembly 18 00 020. 1980 Models: Detach heat shield.  18 00 020 18 00 020
|  |
 |
|
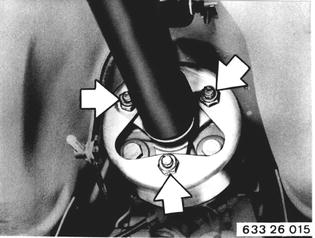
Detach propeller shaft with Giubo coupling or hardy disc at transmission flange. | 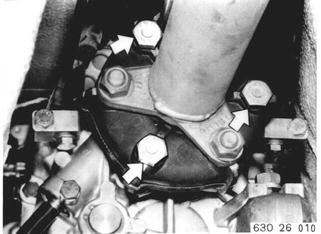 |
Remove heat shield. | 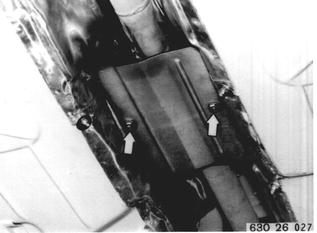 |
Detach center bearing. Installation: Preload center bearing forward by distance (A) = about 2 mm (0.080´´). | 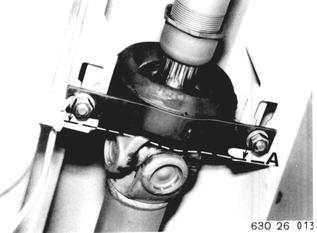 |
Bend down propeller shaft and pull out of centering pin on transmission. Detach Giubo coupling or hardy disc. | 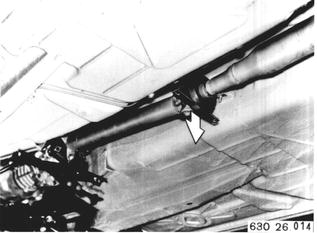 |
Installation: Check center, lubricating with Longterm 2 if necessary. Replace a damaged center. | 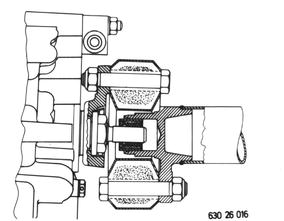 |
Replace rubber coupling. Cars with Automatic Transmission: Install hardy disc that tips of arrows face toward propeller shaft flange arms or output flange. Non-conformance could result in noise and premature wear of hardy disc. | 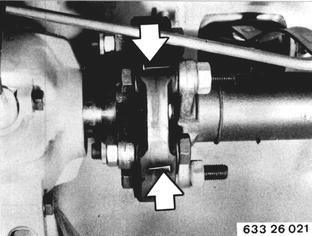 |
Installation: Replace stop nuts. Tightening torque¹). Important: Only tighten nuts (flange end) to prevent stress in coupling.  ¹) See Specifications ¹) See Specifications
|  |
Giubo Coupling: Remove strap (1) after installation. | 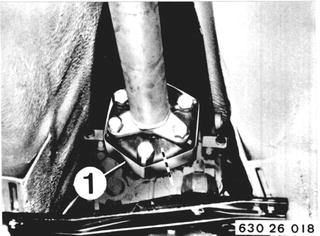 |
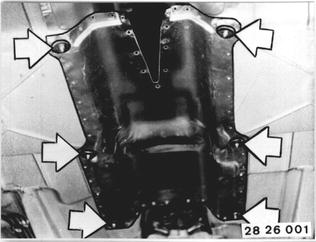
Vehicles after change point in 1982 RREPLACING FRONT RUBBER COUPLING FOR PROPELLER SHAFT Remove exhaust assembly - 18 00 020. Unscrew heat shield, if applicable.  * See Specifications * See Specifications
|  |
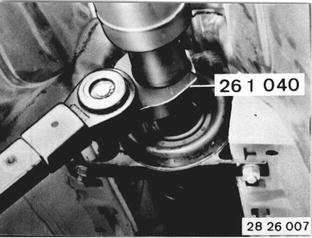
Loosen threaded sleeve several turn with Special Tool 26 1 040. Installation: Tighten threaded sleeve with Special Tool 26 1 040 after finishing installation. Tightening torque*.  * See Specifications * See Specifications
|  |
Unscrew propeller shaft transmission. | 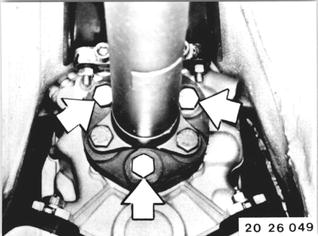 |
Version with Bolted Vibration Damper: The vibration damper is mounted on the transmission end output flange. | 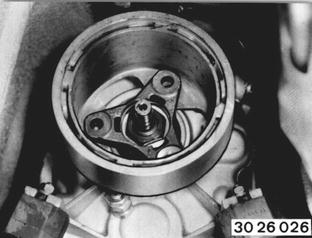 |
Unscrew propeller shaft on transmission, turn vibration damper 60° and place on the rubber coupling. The vibration damper is removed together with the propeller shaft. | 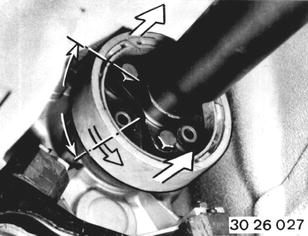 |
Installation: Replace stop nuts. Tightening torque*. Important! Only turn nuts or bolts on the flange end whenever permitted by design, in order to avoid tension in the joint disc.  * See Specifications * See Specifications
| 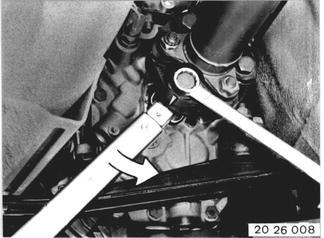 |
Unscrew center mount. Installation: Preload center mount forward by distance A = 4 to 6 mm (0.157 to 0.236"). | 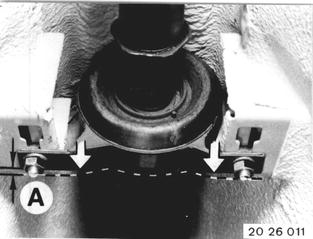 |
Pull propeller shaft out of center on the transmission. Important! Do not disconnect the propller shaft on the slide. | 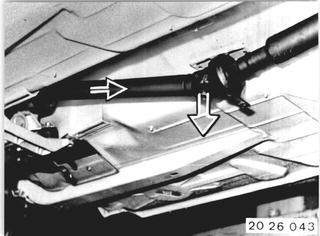 |
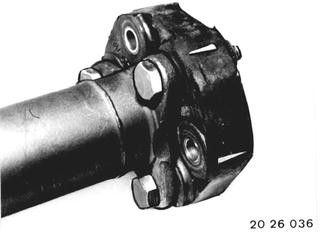
Replace joint disc. Install joint disc that the arrows face toward the flange arms. Tightening torque*.  * See Specifications * See Specifications
|  |
Installation: Check center, lubricating with Molykote Longterm 2 if necessary. Replace a damaged center. | 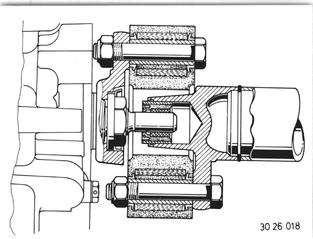 |