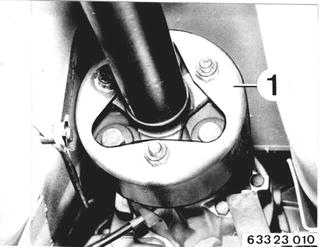
Vehicles before change point in 1982 REPLACING RADIAL OIL SEAL FOR OUTPUT FLANGE Remove exhaust assembly 18 00 020. Version with Heat Shield: Detach heat shield at body. Disconnect guard (1) at propeller shaft.  18 00 020 18 00 020
|  |
Detach universal joint at transmission. | 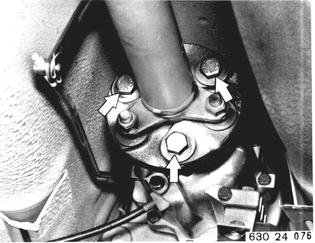 |
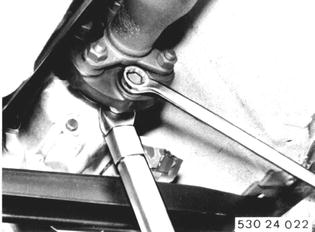
Installation: Tighten nuts to specified torque¹) with a standard 19 mm socket and torque wrench. Important: Only tighten nuts (never bolts) to prevent stress in coupling.  ¹) See Specifications for tightening torque ¹) See Specifications for tightening torque
|  |
Detach heat shield. Detach center bearing. Installation: Preload center bearing forward by 2mm (0.080´´). | 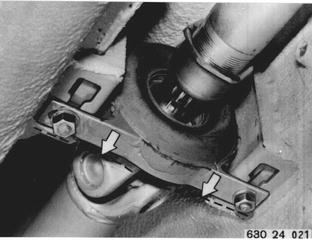 |
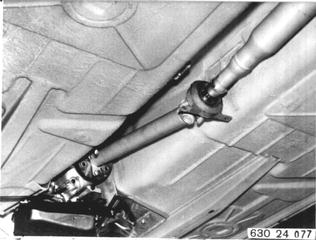
Push propeller shaft together at slide, bend down and pull off of centering pin. Installation: Align propeller shaft with Special Tool 26 1 000 (see 26 11 000).  26 11 000 26 11 000
|  |
Remove lockplate. Installation: Lock lockplate in groove of output flange. | 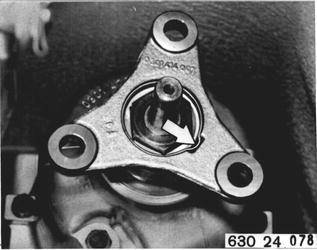 |
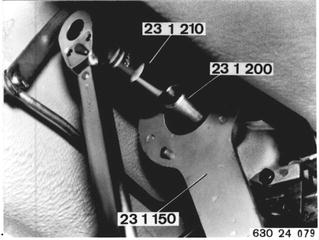
Hold output flange with Special Tool 23 1 150. Apply Special Tool 23 1 200. Unscrew collar nut with Special Tool 23 1 210. Pull off output flange. Installation: Install collar nut¹) with Curil K 2 or Loctite No. 572.  ¹) See Specifications ¹) See Specifications
|  |
Remove radial oil seal with Special Tool 00 5 000. | 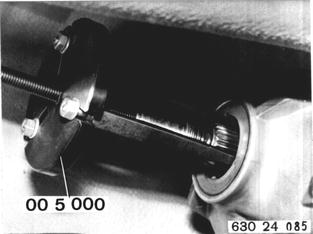 |
Installation: Lubricate sealing lip with ATF. Knock in radial oil seat to fit tight with Special Tool 24 1 060. | 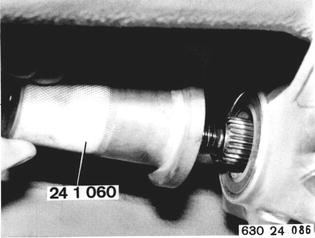 |
Vehicles after change point in 1982 REPLACING RADIAL OIL SEAL FOR OUTPUT FLANGE Unscrew propeller shaft, see 24 11 050. Remove lockplate. Installation: Lock lockplate in output flange groove.  24 11 050 24 11 050
|  |
Hold output flange with Special Tool 23 1 150. Apply Special Tool 23 1 200. Unscrew collar nut with Special Tool 23 1 210. Pull off output flange. Installation: Install collar nut with Curil K2 or Loctite No. 572** and tighten to correct torque*.  * See Specifications * See Specifications ** Source: HWB ** Source: HWB
|  |
Lift out radial oil seal. Installation: Lubricate sealing lip with ATF. Knock in radial oil seal to fit tight with Special Tool 24 1 060. |  |
BMW 628csi - M635csi (M6)»24 - Transmission-automatic»24 12 011 - Radial oil seal for output flange - replacing