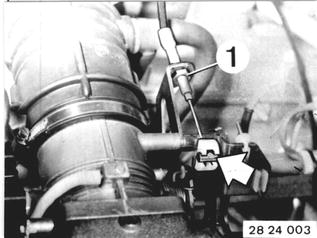
Vehicles after change point in 1982 REMOVING AND INSTALLING TRANSMISSION Disconnect battery ground lead. Unscrew nut (1). Disconnect throttle cable. Installation: Adjust throttle cable, see 24 00 006.  24 00 006 24 00 006
|  |
 |
|
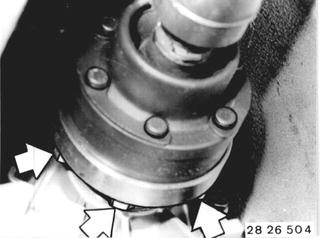
Unscrew propeller shaft on transmission. Installation: Tighten nuts to correct torque*.  * See Specifications * See Specifications
|  |
Unscrew center mount. Installation: Preload center mount forward by distance A = 4 ... 6 mm (0.157 ... 0.236´´). Bend propeller shaft down and pull off of output flange. Important! Suspend propeller shaft from car on a piece of wire. | 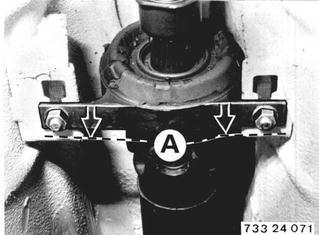 |
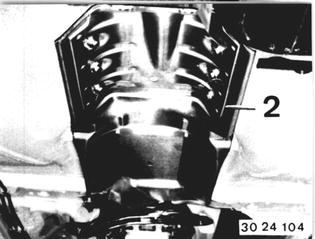
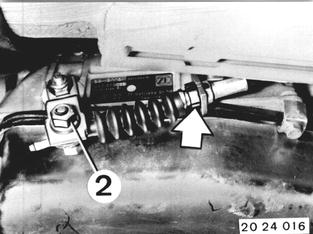
Unscrew nut (2). Disconnect cable on holder. Pull out cable. Installation: Adjust cable, see 24 00 006.  24 00 006 24 00 006
|  |
Only for Version with EH Transmission: Turn bayonet fastener (1) to the left. Pull off plug (2). Lift wire harness out of holders. Installation: Connect plug (2) in such a manner that the marking lines are aligned. | 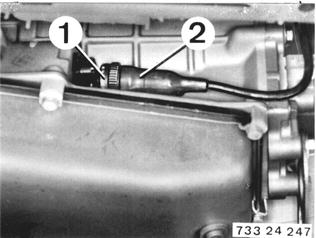 |
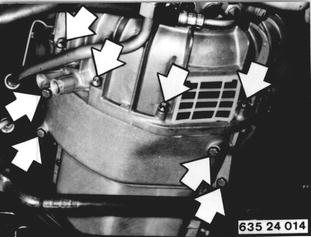
Remove reinforcement plate. Unscrew Torx bolts with a Torx socket. Installation: Tightening torque*. Important! - Installation: Washers must be used on version with Torx bolts to avoid an increase in breaking-loose torque. Tightening torque*.  * See Specifications * See Specifications
|  |
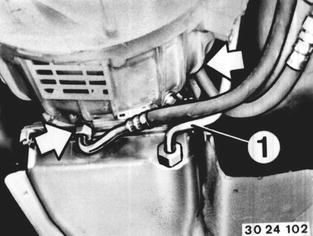
Drain oil. Important! Never reuse drained oil. Installation: The transmission will have to be disassembled, if oil has a burnt odor and is black. Important! If transmission was defective, clean oil cooler and lines with compressed air and flush twice with ATF. Remove oil filler neck (1). Unscrew oil cooler lines on transmission and plug open connections with caps. Installation: Tightening torque*.  * See Specifications * See Specifications
|  |
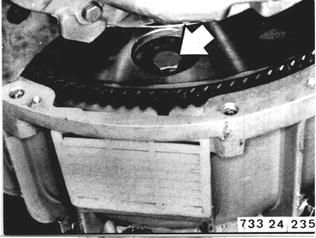
Unscrew torque converter on drive plate at three points. Turn flywheel away for shis pupose. Important! - Installation: Tightening torque*). Only use size M 10 x 16 mm bolts together with spring washers - non-conformance could lead to destruction of the transmission.  *) See Specifications *) See Specifications
|  |
Unscrew guard. Unscrew bolts. Pull out speed sensor (1) and reference mark sensor (2). Important! - Installation: Check installed position. Plugs must not be mixes up. Install speed sensor (1) in bore (D) and reference mark sensor (2) with ring (3) in bore (B). Engine cannot be started if plugs are mixed up. | 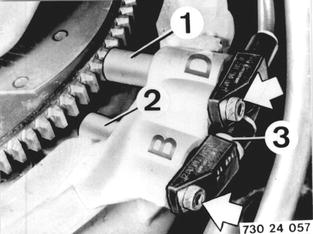 |
Installation: Check O-Rings. Install sensors with Molykote Longterm 2. Important! Keep grease and dirt off of face of DME sensors. | 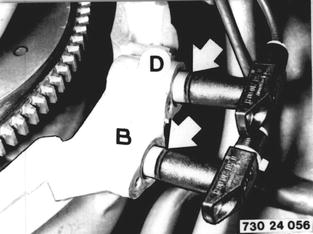 |
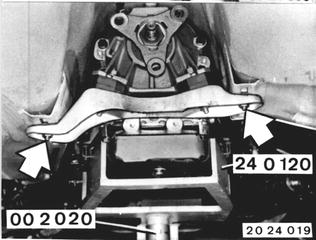
Support transmission with Special Tools 24 0 120 and 00 2 020. Unscrew cross member on body. Tightening torque*). Lower transmission to front axle carrier. Unscrew transmission on engine. Installation: Adjust shift (see 24 00 006). Lift transmission - level - and place a suitable piece of wood between the front axle carrier and oil pan.  *) See Specifications *) See Specifications 24 00 006 24 00 006
|  |
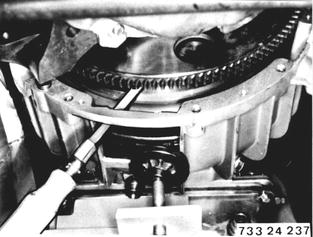
Lower and unscrew transmission on engine. Use a Torx socket for Torx bolts. Lift off protective grill. Pull transmission off of engine, pressing off torque converter at same time. Important! The special tool jack with a mounted transmission may only be moved in completely lowered position. Important! - Installation: Washers must be used on version with Torx bolts to avoid an increase in breaking-loose torque*). Tighening torque').  *) See Specifications *) See Specifications
|  |
Important! - Installation: Check installed position of torque converter. Drive ring must be located below edges of case. Note: Make sure that the converter stays in its installed position while installing, preventing it from sliding out if necessary. | 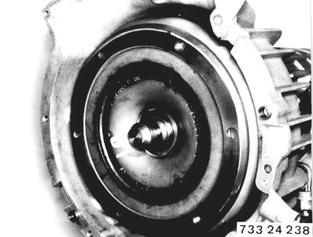 |
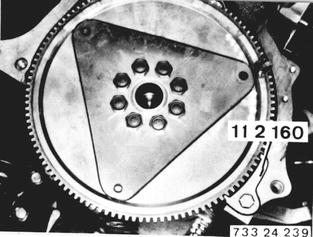
Installation: Check drive plate for breaks and cracks, replacing if necessary. Hold flywheel with Special Tool 11 2 160. Unscrew expansion bolts. Important! Replace and install new expansion bolts with Loctite No. 270. Only coat threads. Clean tapped bores thoroughly. Tightening torque*).  *) See Specifications *) See Specifications
|  |