| |
INSTALLING SEAT BELTS (3 POINT AUTOMATIC)
FOR BOTH REAR SEATS
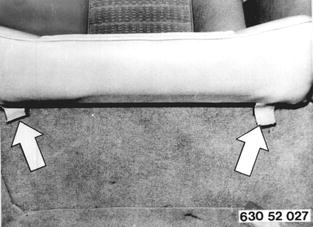
Remove both rear seats.
Unscrew bolts and remove rear seat.
|  |
| |
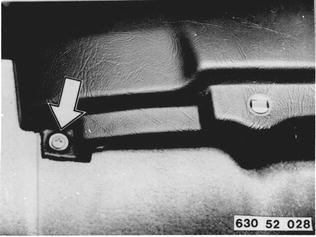
Detach trim for headrest.
Unscrew upper left and right bolts.
|  |
| |
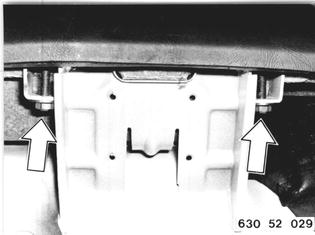
If applicable, remove headrests.
Detach trim at bottom and remove.
|  |
| |
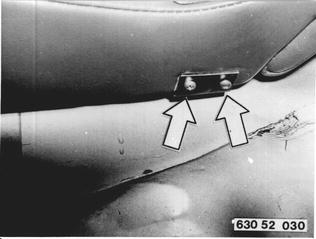
Detach armrest at side.
|  |
| |
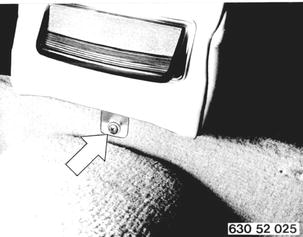
Unscrew screw underneath ashtray.
|  |
| |
Lift tray plate out of clips and remove.
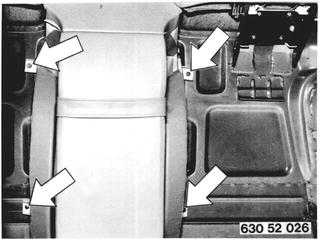
Unscrew bolts and remove center armrest
assembly.
|  |
| |
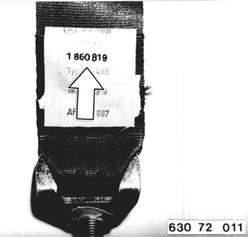
Note identification of seat belts:
Even number = right seat belt.
Uneven number = left seat belt.
|  |
| |
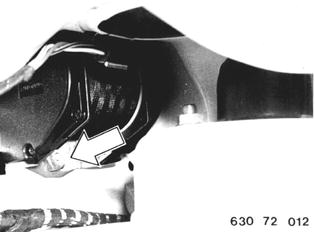
Push seat belt in. Attach automatic real in
trunk above the wheel house.
|  |
| |
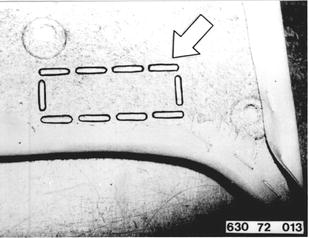
Cut out pre-punched opening in tray.
Slip belt through opening and install tray.
|  |
| |
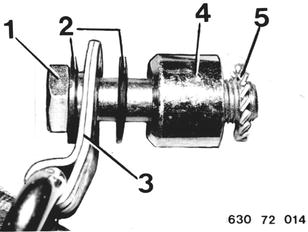
Installed Order for Belt Holder on Rear Window
Frame:
1 Bolt
2 Plastic washer
3 Holder
4 Spacer
5 Washer
|  |
| |
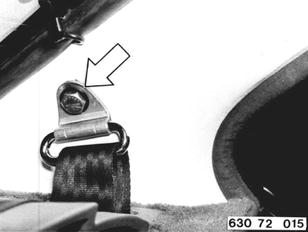
Feel out lining on side of rear window frame
and open tapped bore. Unscrew plug.
Install holder.
Important: Don´t twist belt. Press on cap.
|  |
| |
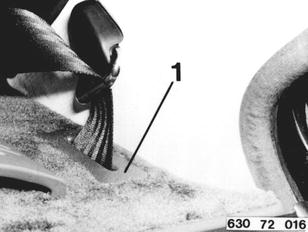
Install plate (1) in tray that slotted side faces
rear.
|  |
| |
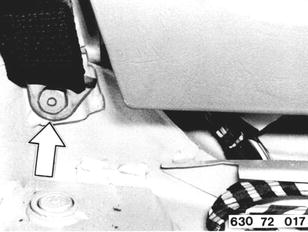
Attach belt at bottom.
|  |
| |
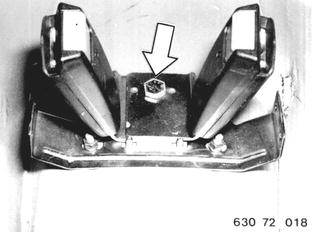
Install belt buckles.
|  |
| |
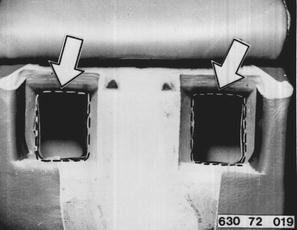
Cut out opening in center armrest from below
carefully.
|  |
| |
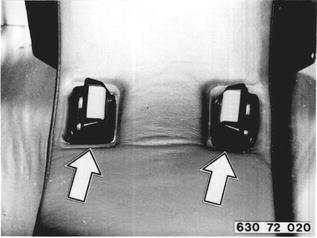
Install belt buckles in opening.
Install center armrest.
|  |
| |
Drive in plates (1) firmly with a piece of hard
wood.
Bevelled side of plates faces toward outside.
Install all removed parts.
|  |
| |
Checking Automatic Seat Belts:
The automatic real has two release systems completely
independent of each other, which activate
a locking system.
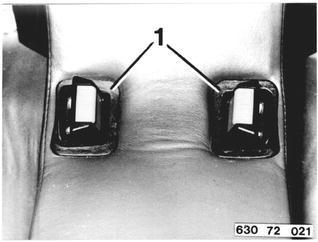
The first release system should lock the real in
tight curves or curves taken fast, steep inclinations
(rolling over), sharp braking action or an
impact. The control is accomplished with a ball
(1). To check, the seat´s backrest must be set to
upright position and both hands placed on the
steering wheel in a supporting manner. Then
stop the car on a dry surface by braking from a
speed twice the speed of walking. The seat belt
should be locked.
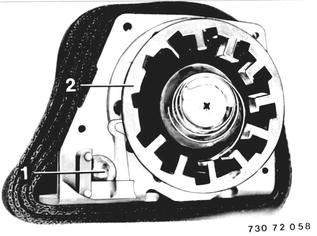
The second release system is a safety measure
and is controlled by inertia (2). If the real locks
when the belt is pulled out suddenly, this system
is also okay.
|  |
| |
The belt should be taken in by the reel as much
as possible when taking off the belt after parking
the car. It could happen that the last section of
the belt would have to be guided to the door
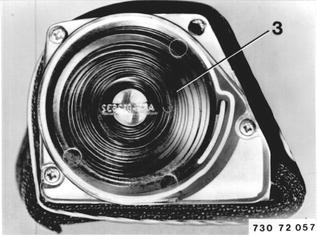
beam. If the last section of the belt is not taken
in by the reel, return spring (3) could be weak or
broken, or there could be excessive friction in
the belt guides.
A belt which has become unusable or was fastened
in an accident must be destroyed immediately
after removal to make its reuse impossible.
The automatic reel does not require service and
must not be opened.
|  |
| |
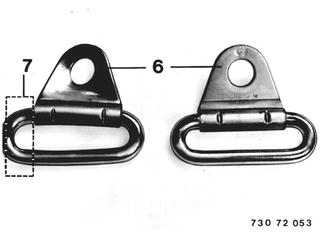
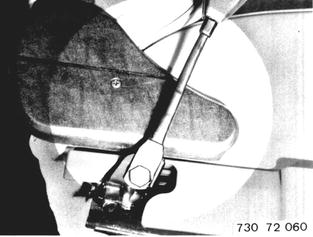
An automatic seat belt has to be replaced, if the
anchorage plate (6) is bent or the stirrup is deformed
in area (7).
When mounted the stirrup should pivot.
|  |
| |
When replacing a seat belt the lower strap must
also be replaced.
In the case of a belt integrated in the seat an impact
could have caused deformation of the lower
strap´s stop on the seat rail.
It is not permitted to attempt to straighten teh
seat and seat rail. Straightened lower strape must
be replaced.
|  |
| |
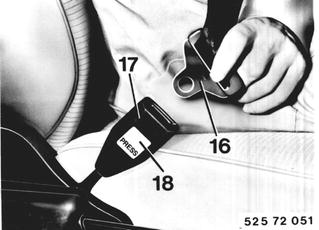
When fastening the belt the insert (16) must engage
easily and with a loud click in lock (17).
Spring force must eject insert (16) out of lock
(17) when pressing in "PRESS" button (18).
Replace seat belts, if lock trim is missing or
damaged.
|  |
| |
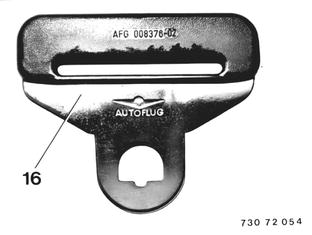
If traces of wear are found in the plastic around
the belt opening above the insert (16), replace
the seat belt.
|  |
| |
Belt Straps
Clean belt straps in a luke warm soap solution
or a commercial detergent for fine laundry. A
seat belt must never be cleaned chemically or
dyed.
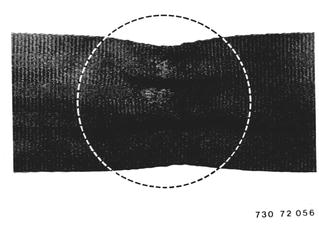
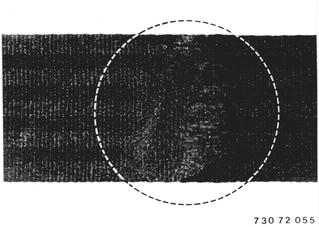
An automatic seat belt mst be replaced in the
case of:
- folds (see figure),
- unraveling,
- pinches,
|  |
| |
- tears and cuts,
- melt spots (see figure) or
- damaged seams at end of belt in
area of holding or pivoting fittings.
To improve the real action (reduction of friction
especially at stirrups) spray the belts with
a universal anti-friction spray, HWB 8122 947 005.
|  |