Vehicles after change point in 1982 REMOVING AND DISASSEMBLING ADDITIONAL AIR CONDITIONER Lift out cooling box and trim (left and right sides). | 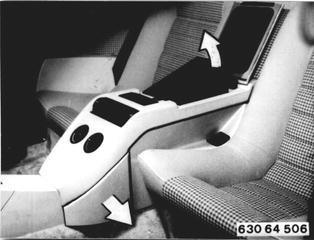 |
Unscrew screws on left and right sides. | 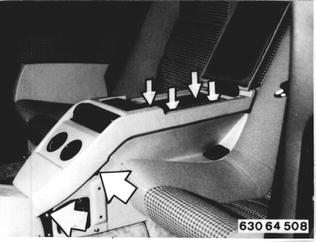 |
Take off trim panel (upper section) and disconnect plug. | 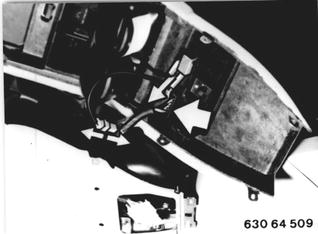 |
Remove rear seats - 52 20 100. Unscrew screws on left and right sides. Take off side trim panels.  52 20 100 52 20 100
| 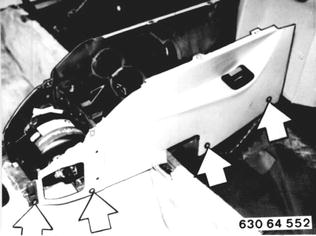 |
Unscrew screws and take off air duct. | 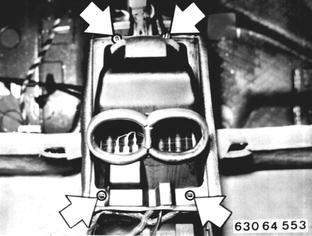 |
Removing TRANSISTOR (for Blower Switch): Pull off plug. Unscrew screws. |  |
Removing and Disassembling CONTROL UNIT: Unscrew screws. 1 = Lamp | 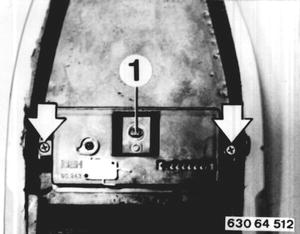 |
Lift out control cam (blower switch) and unscrew screw. | 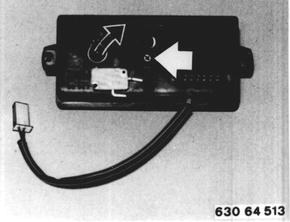 |
Unscrew screws and lift out printed wiring board. | 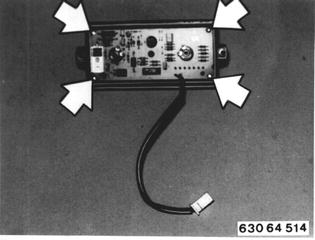 |
Removing FAN MOTOR: Pull off plug. Unscrew screws on left and right sides. Lift out clamps. Lift out housing upper section together with fan motor. Installation: Make sure that housing sections are placed together correctly. | 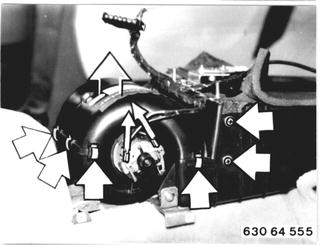 |
Removing EVAPORATOR: Discharge pressure in air conditioner with help of a calve core remover on the intake pressure regulator. Note: Discharge, charge and check air conditioner for leaks after finishinh installation. | 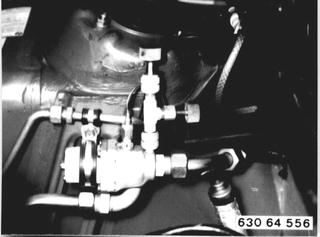 |
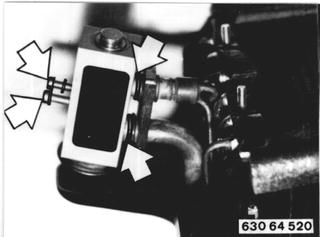
Unscrew screw on expansion valve and take off lines. Installation: Replace gaskets. Tightening torque*.  * See Specifications * See Specifications
| 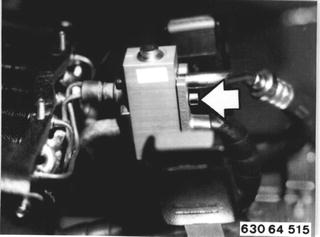 |
Disconnect plug. Unscrew screws on left and right sides. | 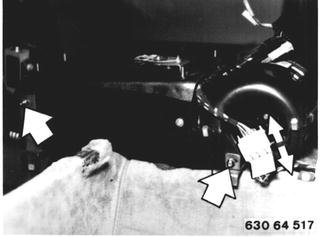 |
Installation: Position gasket prior to installation. | 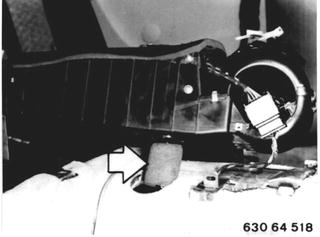 |
Removing EXPANSION VALVE: Unscrew screws. Installation: Replace gaskets. Tightening torque*.  * See Specifications * See Specifications
|  |
Removing TEMPERATURE SENSOR: The temperature sensor can be pulled out of the evaporator after removing the air duct. | 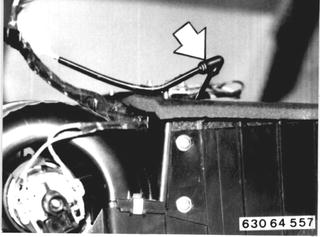 |
BMW 628csi - M635csi (M6)»64 - Heating and air conditioning system»64 11 003 - Additional air conditioner - removing ad installing