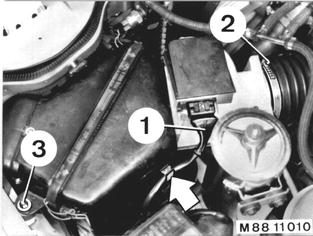
Vehicles after change point in 1982 REMOVING AND INSTALLIND OIL PAN Disconnect ground lead. Pull off plug (1) and lift out leads. Loosen hose clamp (2). Unscrew nut (3) and remove air cleaner with air flow sensor. Unscrew fan cowl. Drain engine oil. Installation: Pour in engine oil***.  *** See Service Information of Gr. 00 *** See Service Information of Gr. 00
|  |
Take off alternator drive belt. Loosen and swing alternator to the side. Loosen bolt (1). Remove bolt (2). Unscrew bolts (3) partially. Installation: Tighten drive belt and check tightness with Special Tool 11 5 020. | 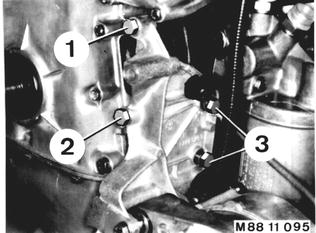 |
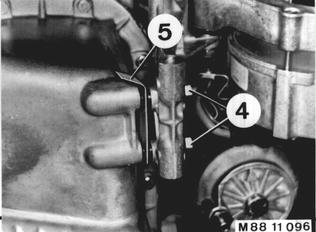
Take off power steering pump drive belt. Unscrew power steering pump and remove bolts (4). Installation: Do not stress the console during installation - use spacer (5), see 32 41 131. Tighten drive belt and check tightness with Special Tool 11 5 020.  32 41 131 32 41 131
|  |
Cars with Air Conditioner: Unscrew bolts (6) and nut (7). Remove holder toward the inside. | 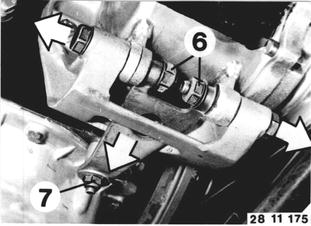 |
Unscrew reinforcement plate. Unscrew oil pan bolts. | 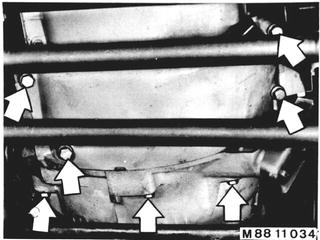 |
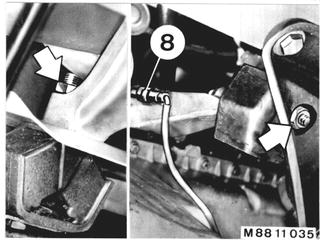 |
|
Attach Special Tool 11 0 020 on engine and lift engine. | 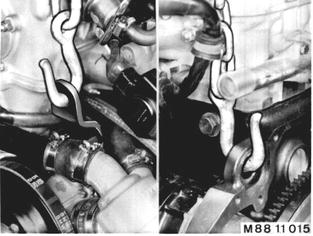 |
Swing out and suspend console on a piece of wire. Unscrew the remaining oil pan bolts. | 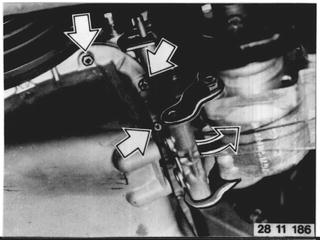 |
Turn crankshaft to have connecting rods in cylinders 5 and 6 at their highest point. Remove the oil pan. | 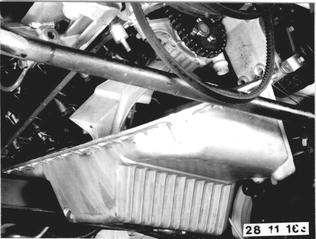 |
Installation: Clean sealing surfaces. Replace oil pan gasket. Apply a coat of brush-on universal sealing compound** on joints of the timing case cover and ...  ** Source: HWB ** Source: HWB
| 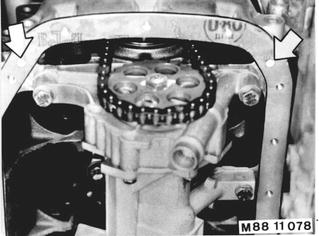 |
... end cover. | 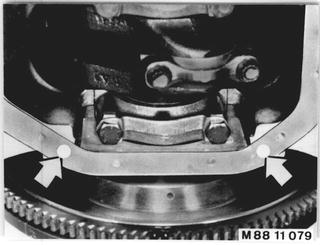 |