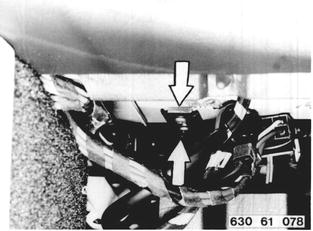
REMOVING AND INSTALLING HEATER CONTROLS Detach and attach instrument panel trim at bottom left 51 45 180. Disconnect battery ground. Open glove box and disconnect hinges. Detach impact switch with trim.  51 45 180 51 45 180
|  |
Detach control shaft on water valve and air distribution flap with Special Tool 64 1 000. Installation: Make sure control shafts are heard to engage. | 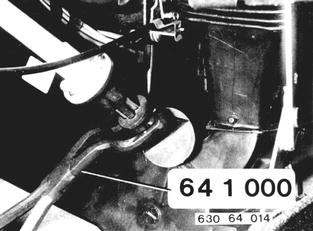 |
Pull knob off of fresh air control switch and take off cover. | 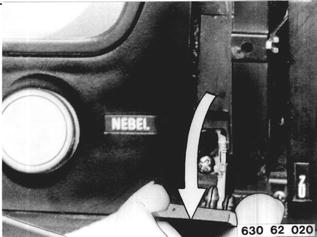 |
Unscrew screws of heater controls at left. | 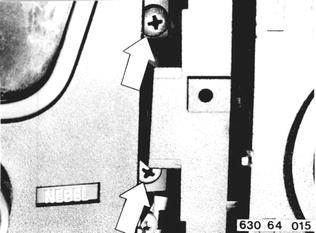 |
Detach left fresh air control switch at heater controls. | 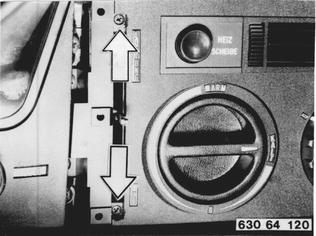 |
Pull knob (1) off of right fresh air control switch. Unscrew screws on heater controls. | 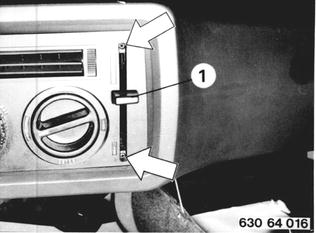 |
Pull off wire plugs from plug receptacle on heater. | 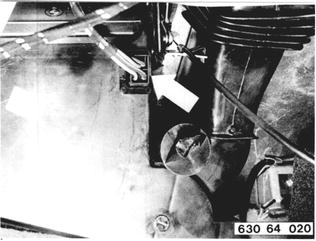 |
Lift grill for heater and air conditioner out of clips and remove toward rear. | 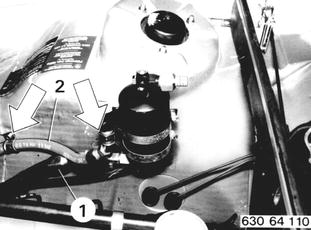 |
Lift out cigar lighter and hazard light switch, and pull off wires. | 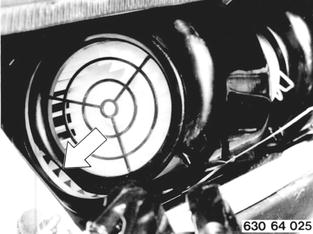 |
Unscrew screws. Remove carrier and cover (1). If applicable, pull off wires on radio. | 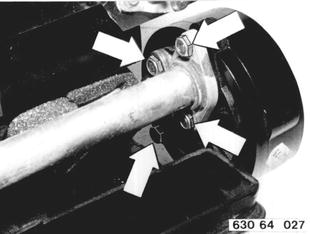 |
Disconnect large and small plug at right. Swing out heater controls toward rear carefully. | 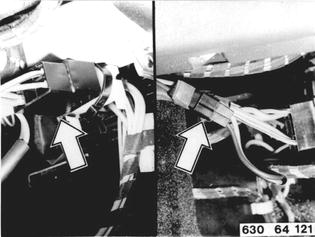 |
Pull temperature sensor out of evaporator housing. Remove heater controls. Installation: Push in temperature sensor up to mark. Important: Be careful not to bend off temperature sensor. | 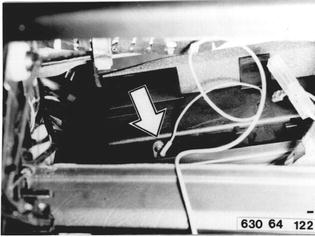 |
Swing out heater controls toward rear carefully. Disconnect central plug. Remove heater controls. | 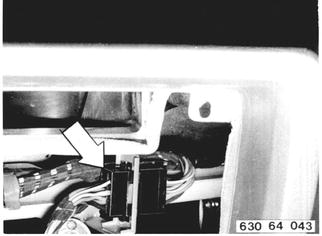 |
Vehicles after change point in 1982 REMOVING AND INSTALLING CONTROL UNIT Pry out plate (1) with a small screwdriver. | 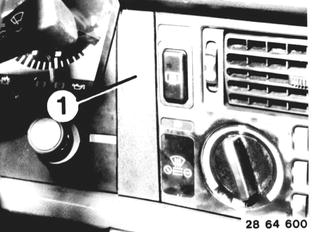 |
Pull out plate (1) and switch (2) forward with a small screwdriver (or knife). Pull off plug on switch (2) and remove switch (2). | 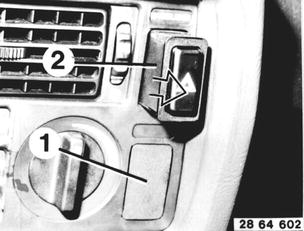 |
Pull out plate (1) and switch (2) forward with a small screwdriver (or knife). Pull off plug an switch (2) and remove switch (2). | 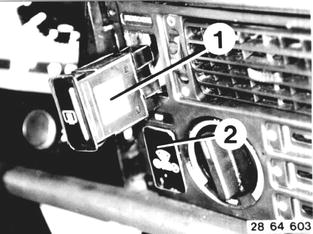 |
Pull off knobs on sliding controls (2). Pull off rotary knobs on temperature control (1) and blower control (3). | 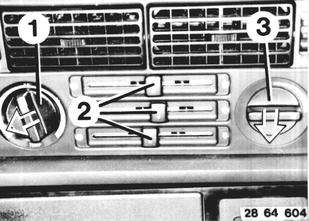 |
Unscrew bolts (1 and 2). | 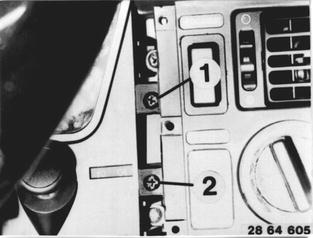 |
Unscrew bolts (1 and 2). | 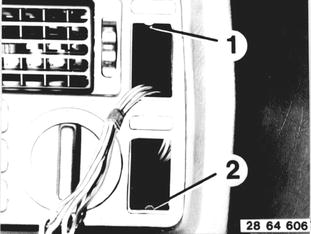 |
Unscrew bolts (1 ... 4). | 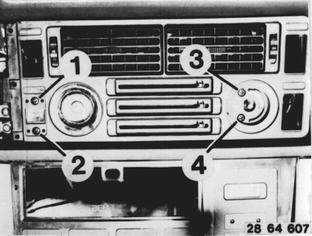 |
Tilt plate forward. Pull off left and right lights (1) and remove plate. | 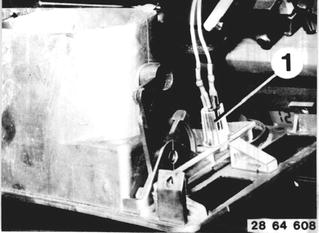 |
Pull off plug (1). | 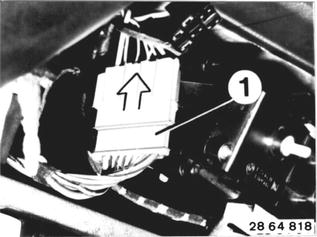 |
Until 9/85 models: Pull off plug (1) on heater sensor. | 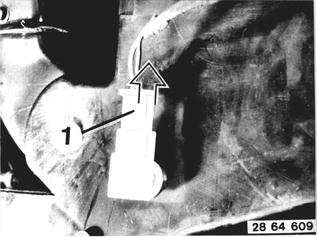 |
Pull off plug (1). | 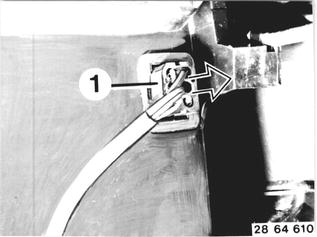 |
Remove clamps (1) and disconnect cables (2 ... 4). Remove heater controls. Installation: Cable 2 = blue paint ring Cable 3 = red paint ring Cable 4 = green paint ring | 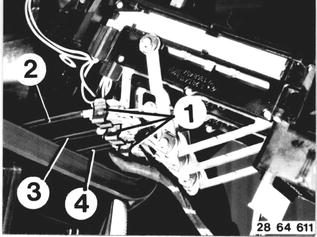 |
From 10/85 models on: Remove control unit and pull off plugs. | 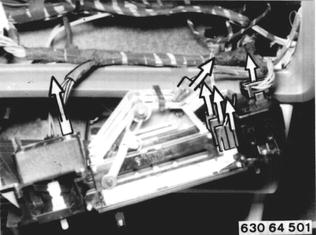 |
Remove clamps (1) and disconnect cables (2 ... 3). Installation: Cable 2 = blue paint ring Cable 3 = green paint ring | 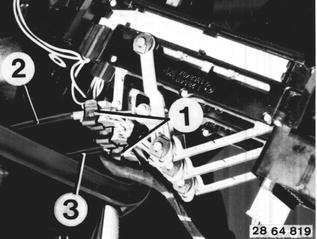 |
Installation: Connect cable in sliding control. Push sliding control against stop. Turn adjusting ring (1) until it can be engaged in opening. Secure cable with clip (2). | 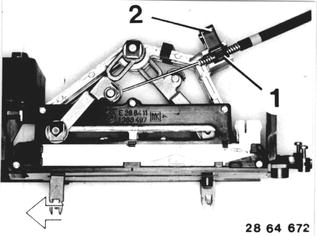 |
BMW 628csi - M635csi (M6)»64 - Heating and air conditioning system»64 11 330 - Heater controls - removing and installing